
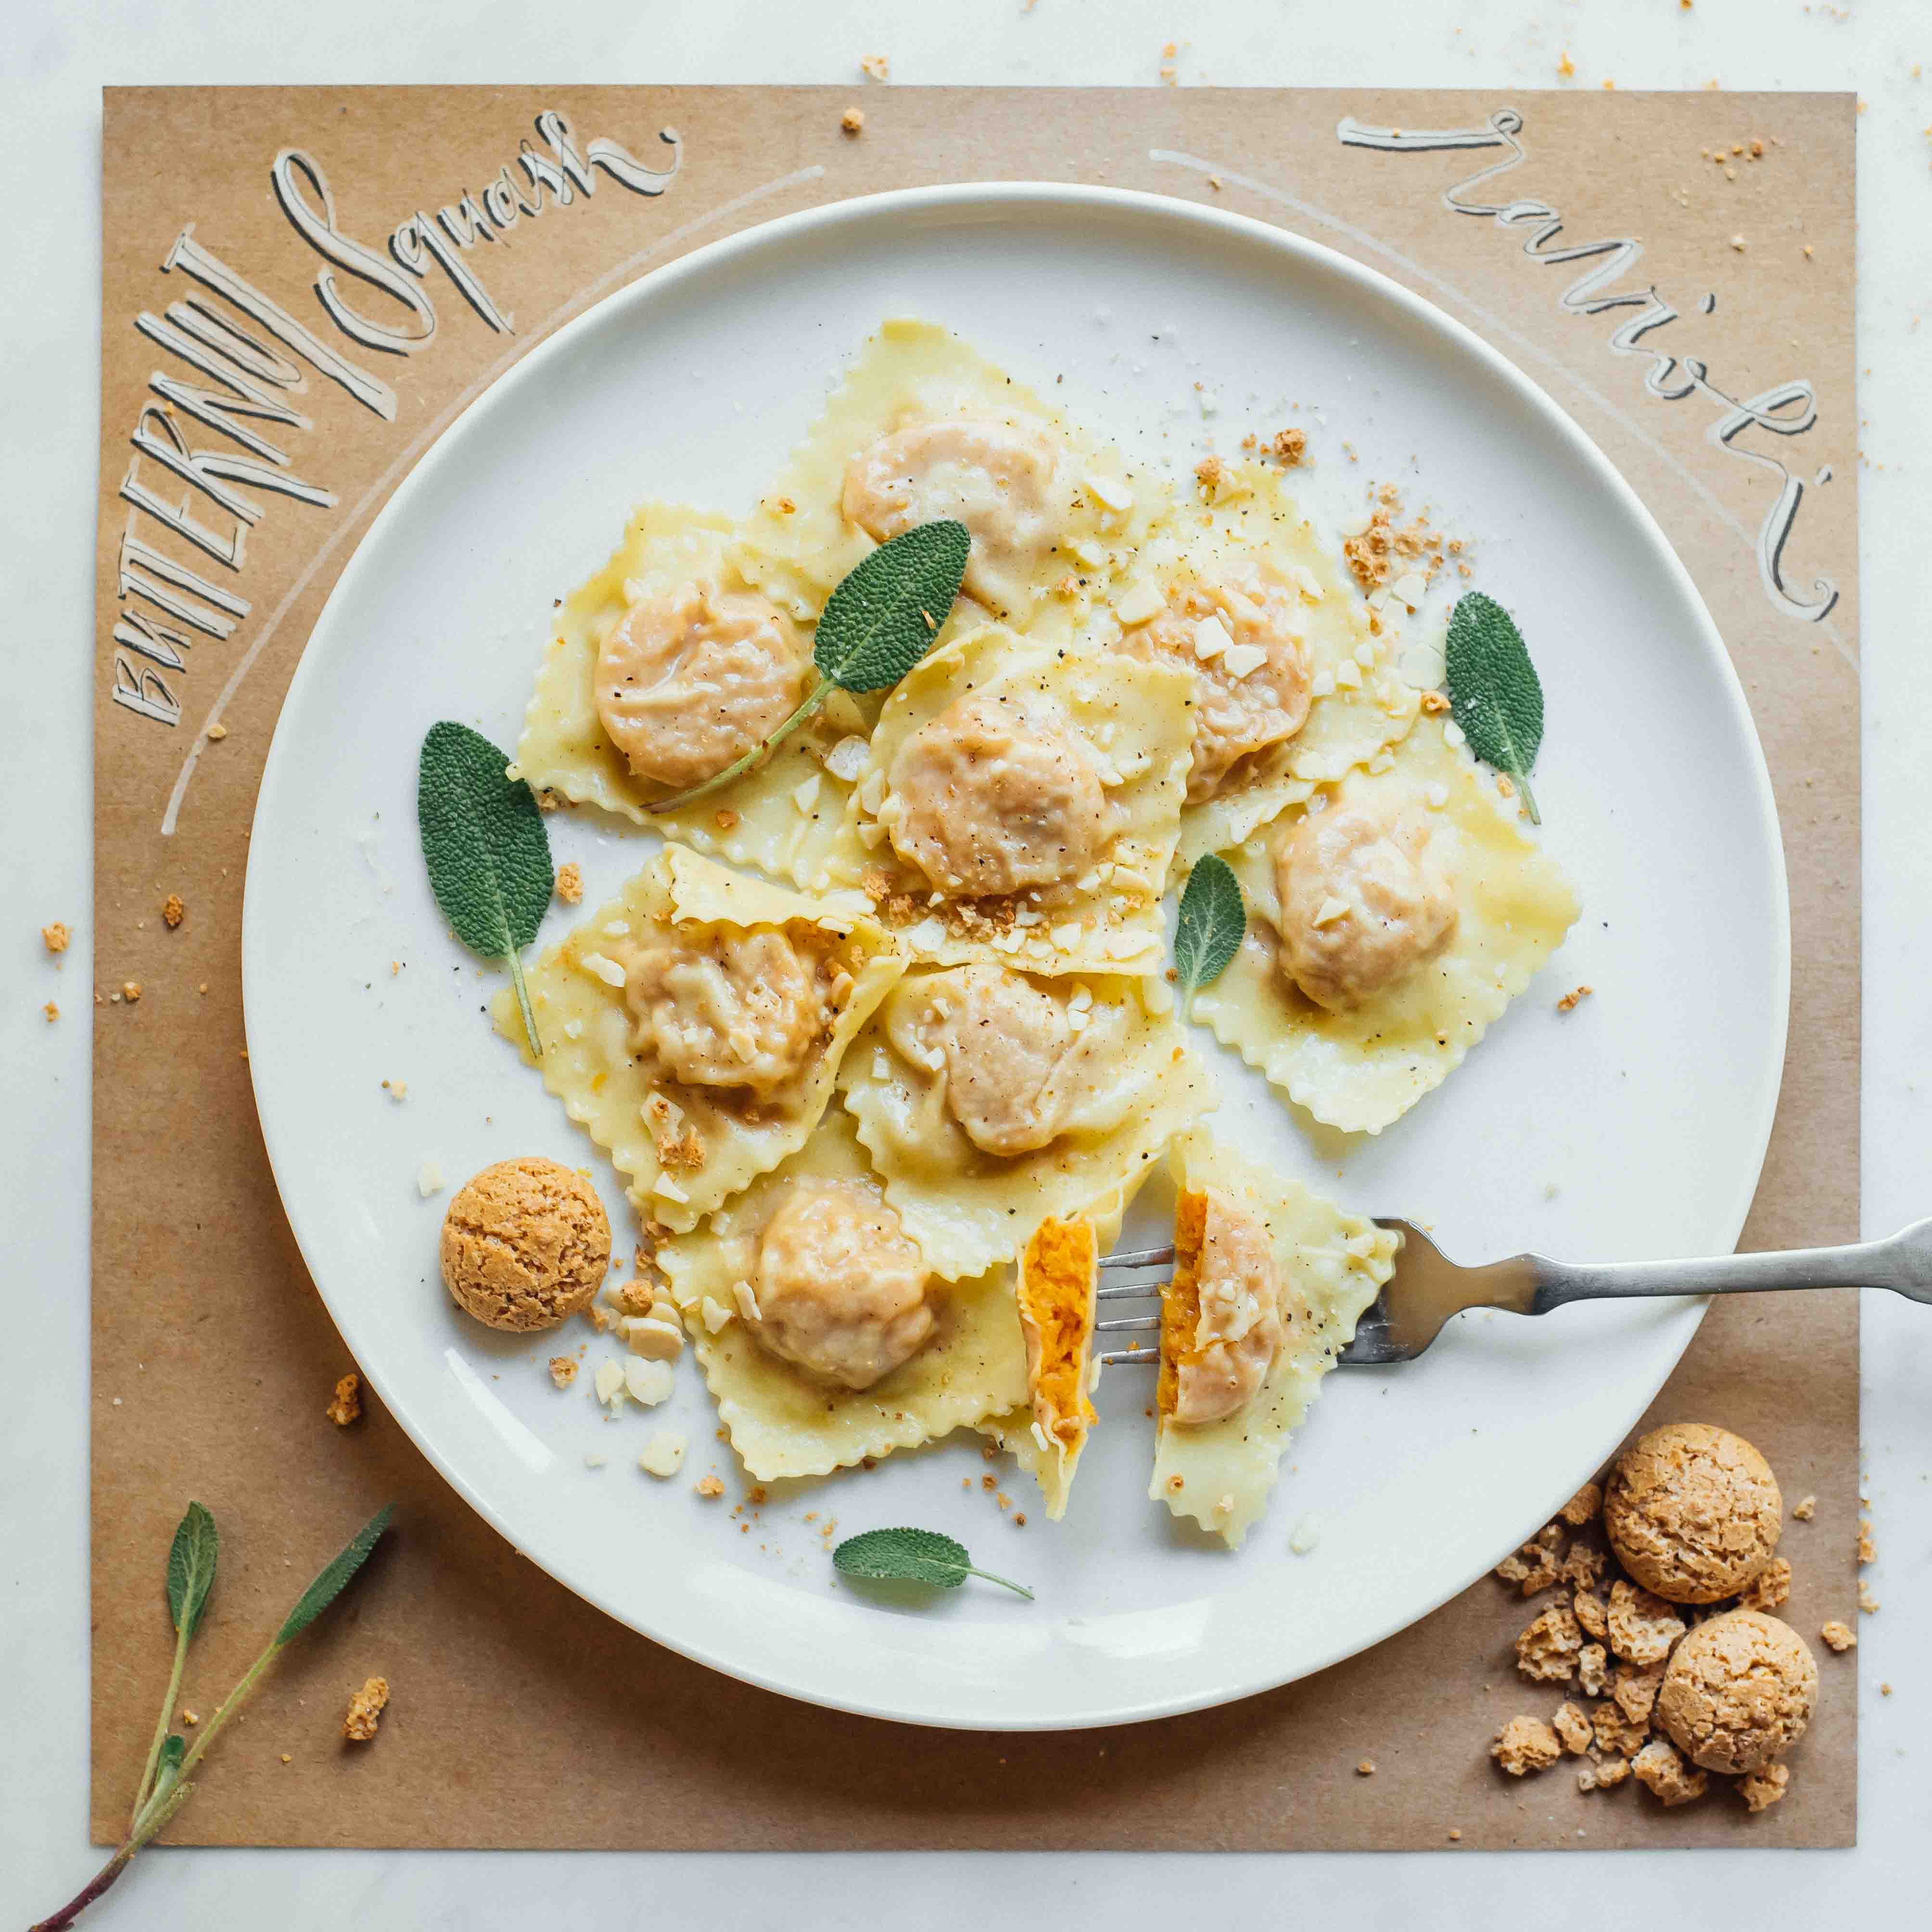
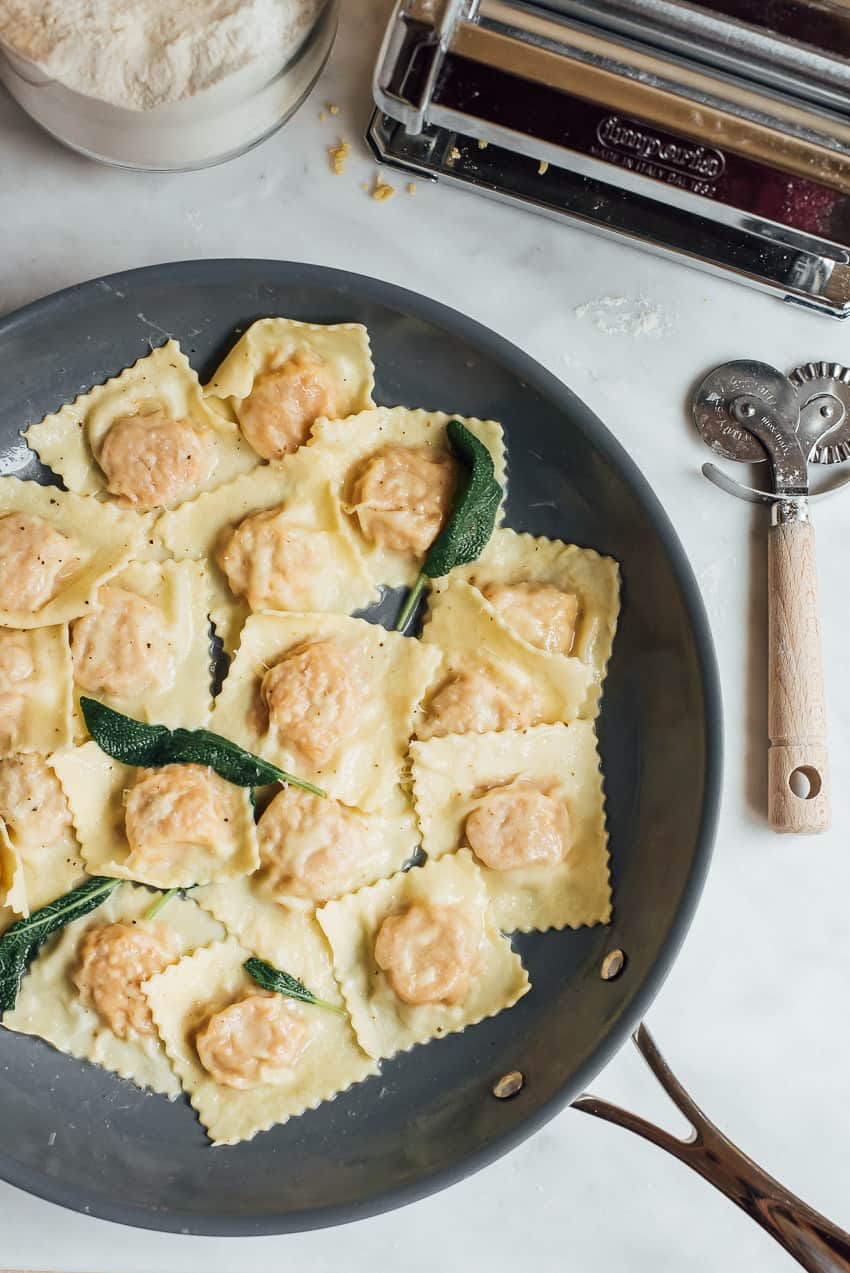
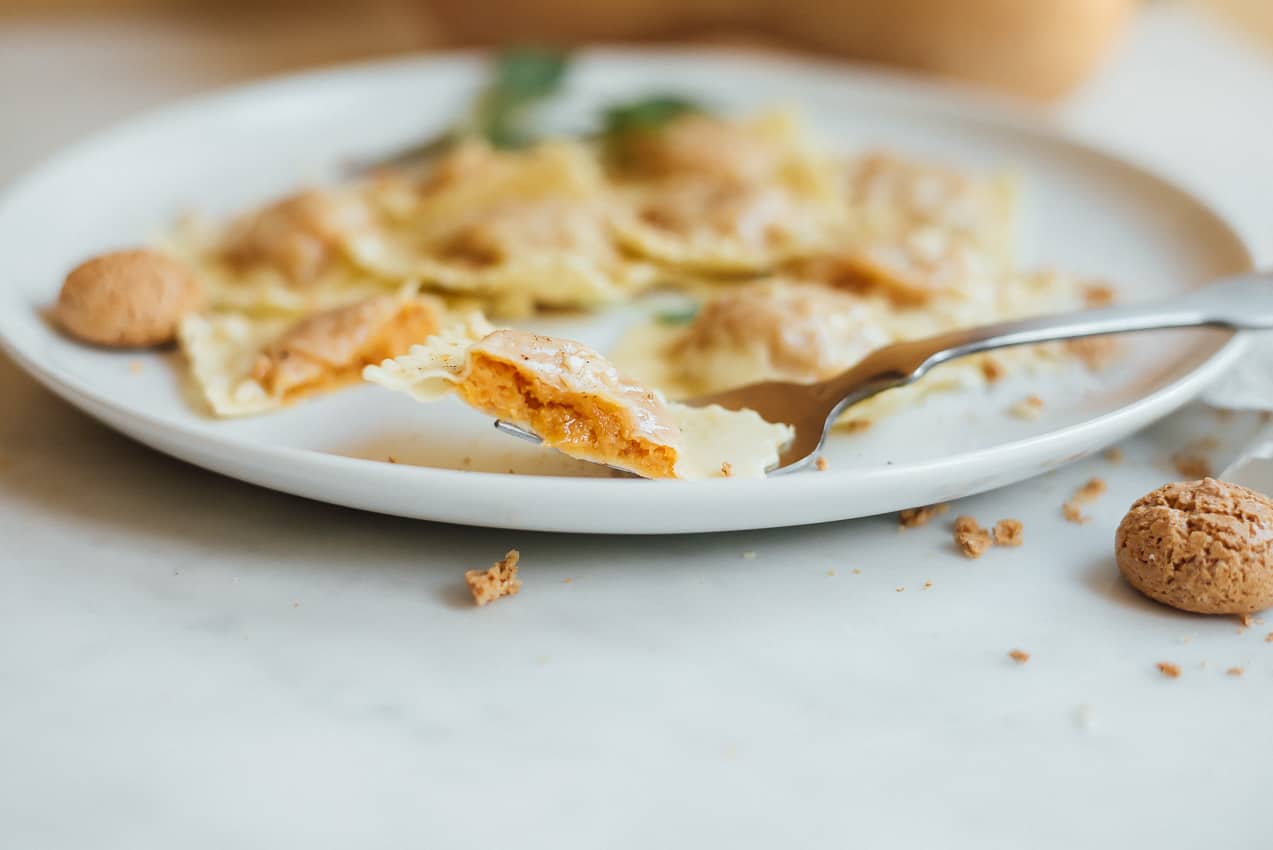
Everything is pumpkin-flavored these days and you probably already had butternut squash cooked in any possible way this season…but have you ever tried Butternut Squash Ravioli (Ravioli di Zucca)? They’re delicate pockets of thinly rolled pasta hiding a delicious filling of sweet and nutty squash, bitter-sweet amaretti and savory Parmigiano Reggiano cheese. Back in Italy, we typically toss them in a lovely aromatic butter sage sauce. They’re pretty much impossible not to love!
Yes, yes, I know. Homemade ravioli are not necessarily the easiest pasta shape to make, but they’re SO good and rewarding, they’re totally worth your effort and patience! If you ask me, no store-bought ravioli can stand a chance to the ones you make yourself. Also, it’s one of those recipes you make every once in a while, in BIG batches. Freeze what you don’t eat and enjoy your little stash on lazy cold nights. These Butternut Squash Ravioli are a *perfect treat* when you’re craving a quick, comforting, and delicious dinner before you snuggle under the blanket to watch an episode of TWD (I can’t wait for the new season to come out!!). These little guys cook in 4-5 minutes and all they need is a quick toss in a super-easy butter and sage sauce.
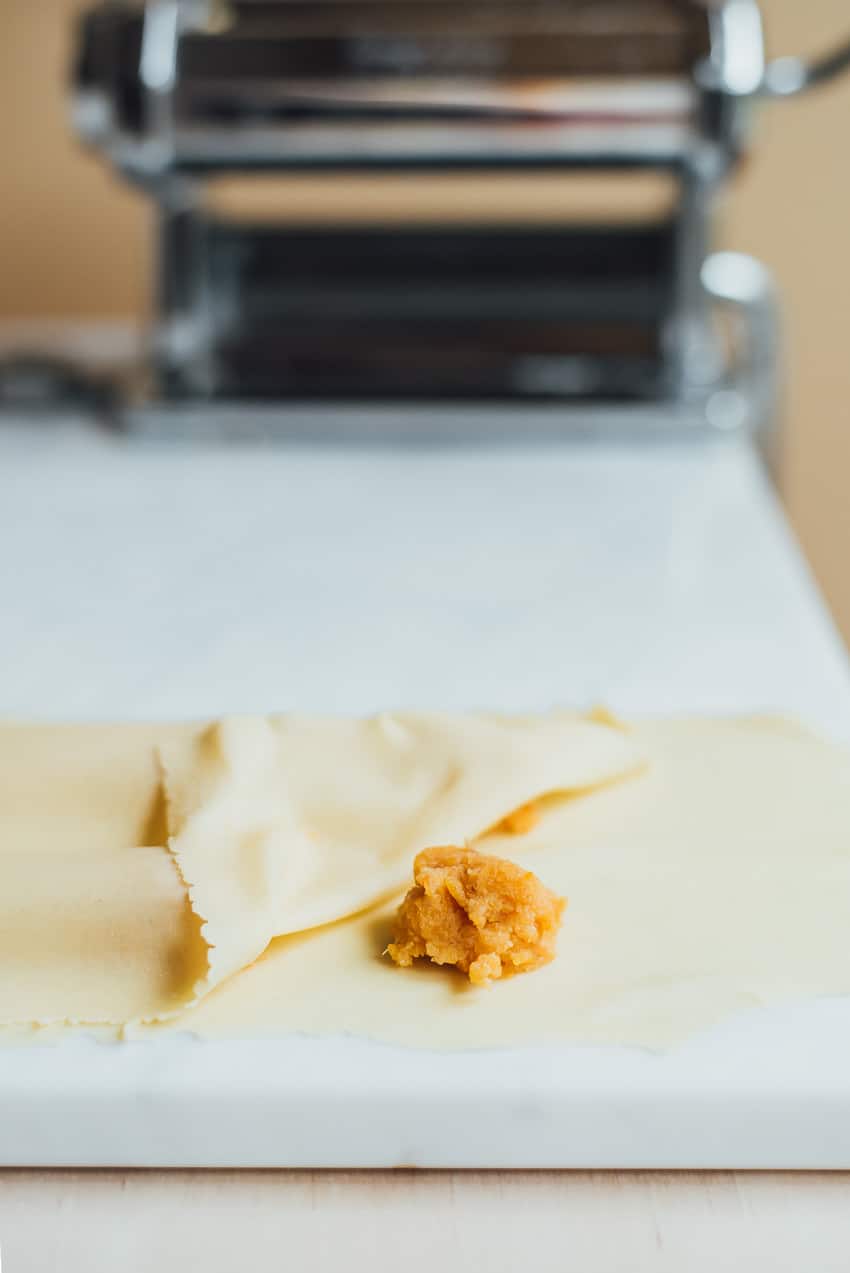
Have I given you enough reasons to take on this cooking endeavor? I hope so! Here are a few photos of the pasta making process. Scroll down for the full recipe and more recommendations and storing tips!

- RAVIOLI DOUGH
- 200 g (7 oz) "00" flour or all-purpose flour
- 200 g (7 oz) semolina flour
- 4 large eggs
RAVIOLI FILLING- 600 g (21 oz) pre-cut butternut squash (see notes)*
- 100 g (3.5 oz) Parmigiano Reggiano cheese, finely grated + more as topping
- 120 g (4.2 oz) amaretti cookies, crushed
- 1 untreated lemon, zested
- a pinch of nutmeg
- salt
- 1 egg
BUTTER & SAGE SAUCE- a few leaves of sage
- half stick of butter
- freshly ground black pepper
- (optional toppings) crushed amaretti, fresh sage leaves, finely chopped almonds
- Preheat oven to 200 C (400 F).
MAKING THE PASTA DOUGH - Sift together semolina flour and all-purpose flour on a clean working surface and form a well in the center. Crack eggs into the center and add a generous pinch of salt. Start mixing eggs with a fork, gradually drawing the flour from the borders towards the center. Bring all the dough lumps together with your hands and knead for about 10 minutes, until you obtain a smooth dough ball. Cover entirely with plastic film and let rest for at least 30 minutes. (You can read a detailed fresh egg pasta tutorial here)
MAKING THE FILLING - Place butternut squash pieces on a baking tray lined with parchment paper. Bake for about 30 minutes, or until soft and dry to the touch. Remove from the oven and scrape off charred bits of flesh.
- Place baked squash in a wide-bottom bowl and mash until all big lumps are gone (you can use a potato masher or a hand-held blender). Stir in cheese, lemon zest, nutmeg, and crushed amaretti cookies. Add salt to taste. Crack an egg into the squash mixture and stir until well combined. Cover and refrigerate until ready to use.
ROLLING OUT DOUGH - Set your pasta machine on a wide working surface (kitchen table is perfect!). Cut dough into equal pieces (a little smaller than a golf ball); take one piece and wrap the other ones in plastic wrap to prevent them from drying out. Flatten the dough piece with your hands into a rectangle and lightly dust it with semolina flour.
- Set your pasta machine to widest setting. Run dough through the machine and fold it in half (end to end). Run folded dough through machine again. Adjust to narrower setting and continue the same way, working your way up to the thinnest setting (that's # 6 on my machine). Make sure to very lightly dust your dough every once in a while, before running it through the machine. If the rolled sheet becomes too long, you can cut it in half to make it more manageable, but try to obtain similar-length sheets. Once your first rolled sheets are ready, place them on a lightly floured surface and cover them right away with clean kitchen towels (or they'll dry out!).
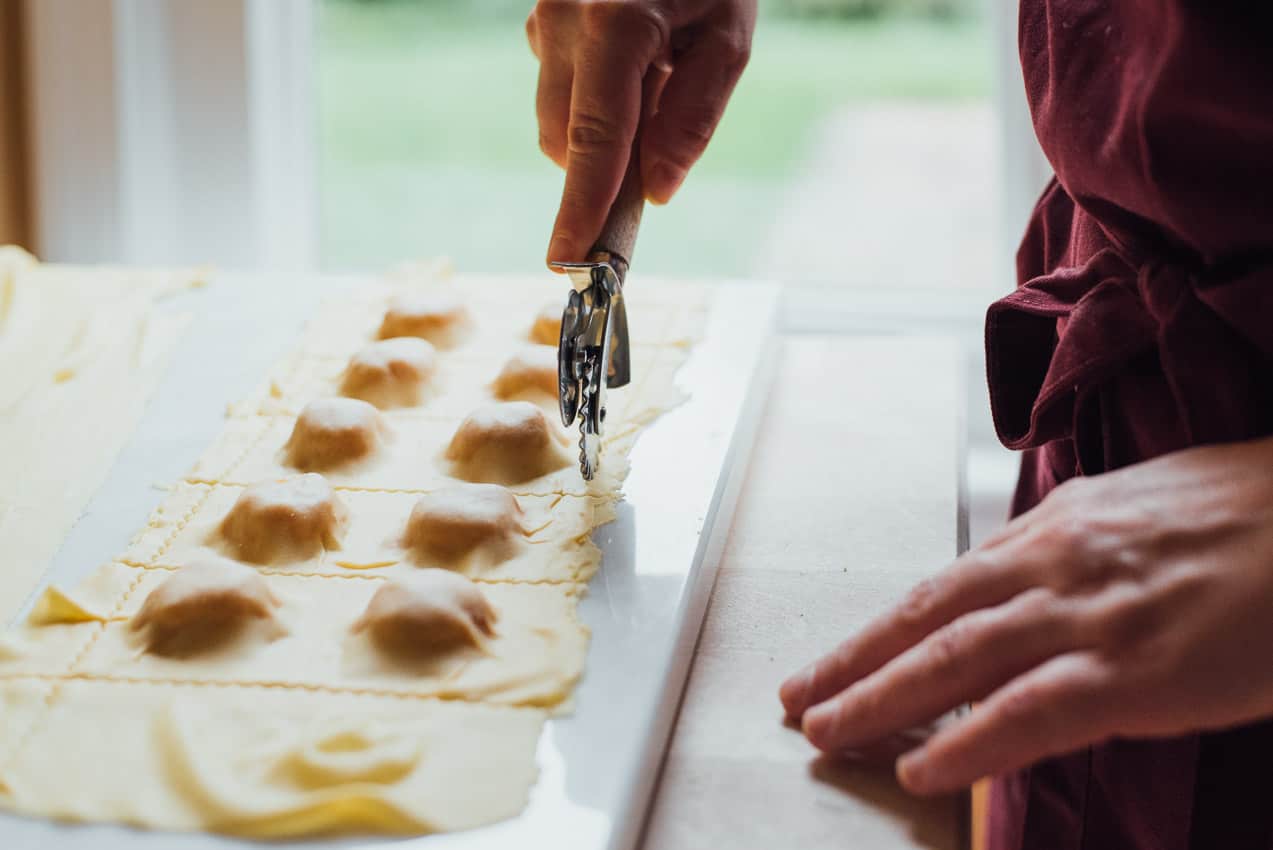
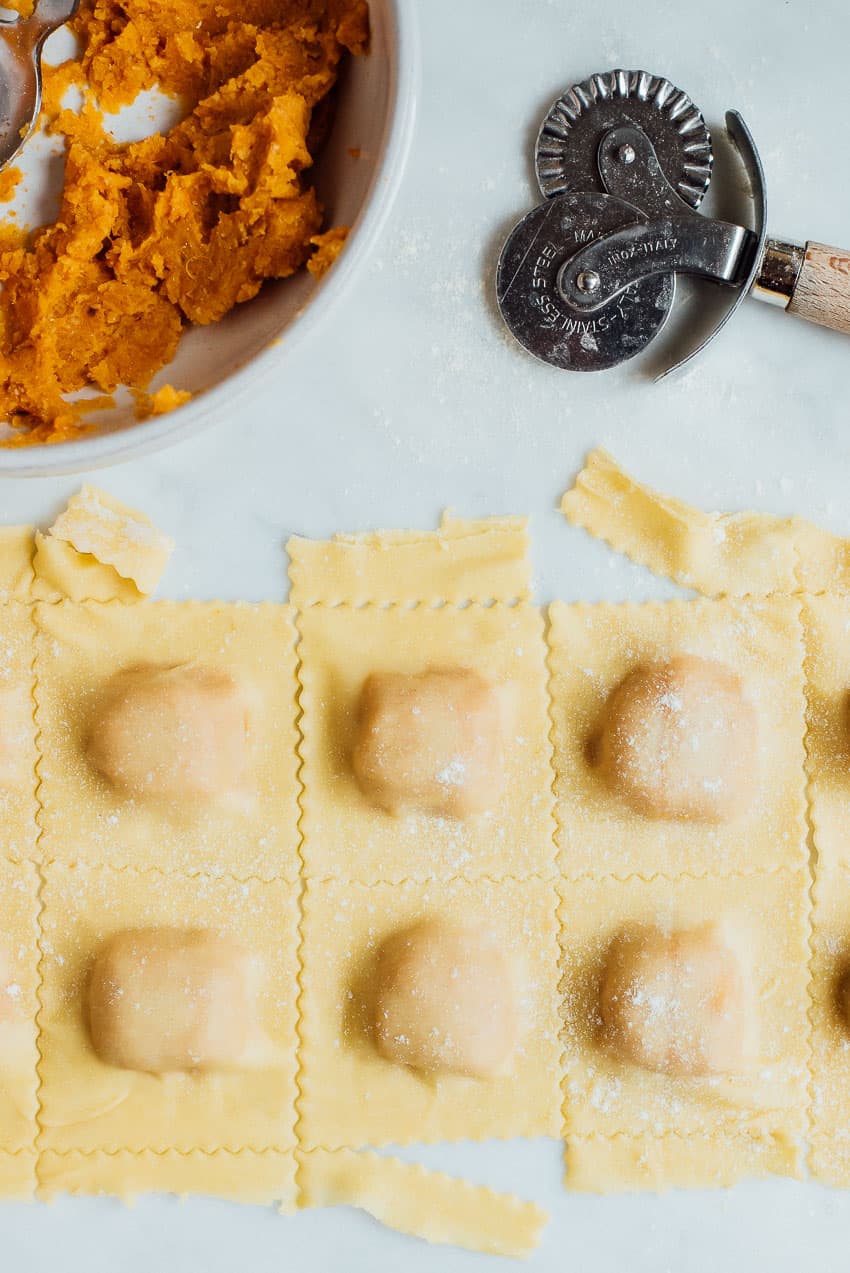
MAKING RAVIOLI - Dust your working surface before placing a rolled sheet on it. Arrange little amounts of filling (about ½ Tbsp) in 2 rows, about 1 inch away from each other (see photo above). Cover with another sheet and, with your fingers, gently press the dough around the filling to push out the air and to seal the ravioli. Cut in squares, running a pasta cutter right in between the little filled areas. Place ravioli on a tray lightly dusted with semolina flour.
COOKING RAVIOLI - If you decide to cook all 8 servings, work in batches. Cook for about 4-5 minutes in boiling salted water.
BUTTER AND SAGE SAUCE - While ravioli are cooking, melt butter in a wide sauté pan on medium, add sage leaves and heat until the butter sizzles. Turn heat to low. Add a few tablespoons of cooking water from the ravioli pot. Stir and swirl the pan from time to time, letting the butter emulsify until the liquid is reduced to a creamy sauce.
- Toss ravioli in sauce for a minute, until completely coated. Grind some black pepper on top. Sprinkle some grated Parmigiano Reggiano cheese, a few crushed amaretti, and chopped almonds. Garnish with fresh sage leaves and serve!
IMPORTANT NOTES ON PASTA DOUGH
- Make sure you knead your pasta dough for quite a bit of time. Yes, it will be a bit hard at first, but once it has rested you’ll get a nice smooth and soft pasta that will be easy to work with!
- Cover your dough and your rolled sheets of pasta that you’re not using AT ALL TIMES or they’ll dry out.
- Unlike tagliatelle, tagliolini, lasagne (etc), filled pasta requires a thinner sheet of dough. For this reason, I recommend using a pasta machine to roll out your sheets. If you have strong arms, a wide working surface, and no pasta machine, by all means use a rolling pin… but make sure you roll your sheets thin enough you can almost see your fingers through them.
- I recommend cutting ravioli in squares but you can also use round or fun-shaped cookie cutters. If you want to go for round shapes, you’ll probably end up with a lot of cut-outs. Make sure you work quickly so they won’t dry out and you can use them again.
STORING RECOMMENDATIONS
- REFRIGERATOR: If not cooking right away, place ravioli on a floured tray, cover with plastic film and refrigerate for no longer than 1 day.
- FREEZER: Place ravioli on a tray distanced from each other, and freeze for 20 minutes or so. As soon as they harden up, transfer them into a bag or container and store in the freezer for a few months. When ready to cook, cook frozen and in batches so they don’t bring down too much the temperature of the boiling water.


These are beautiful! I’ve always been intimidated by making my own ravioli, but you make it look easy.
Thanks Sarah! They’re not that difficult to make, actually. It can turn into a fun thing to do with friends or family 🙂