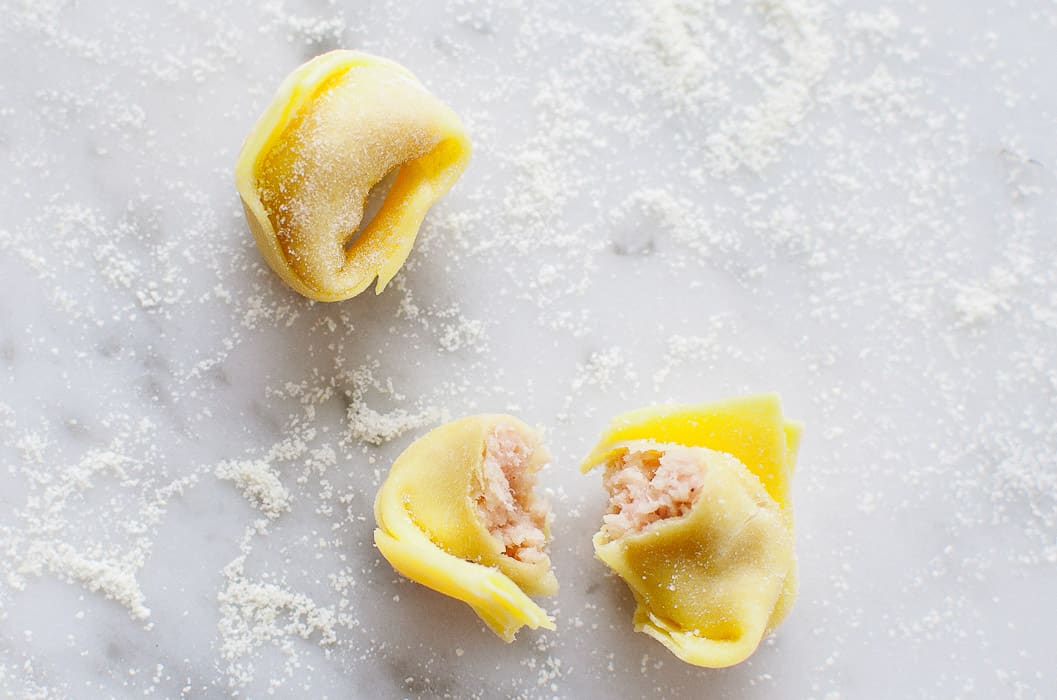
When I was little and all the way until I was in my early 20s, fall and winter Sunday meals regularly started with a hot bowl of tortellini in brodo. Right before going to church, my grandma would place a big pot of water on her wood stove; she’d dump an onion, a few ribs of celery, and a couple of carrots in it; then she’d add a big piece of beef and a few pieces of stewing hen that would simmer for a good couple of hours. The smell of the broth was so inviting, whoever was around would sneak in and scoop some out into a little cup and dip a little piece of bread in it. If the broth was made from scratch, the tortellini weren’t, as my grandma would always buy them from the grocery store. These days we don’t make this dish as often as we used to, but when we do, we savor every bit of it. If you ask me, NOTHING is as comforting as a nice cup of tortellini in brodo; not only does it warm up my belly, it also brings back sweet memories of our long Sunday lunches, spent around the crowded oval table in my grandparents’ kitchen….
Get to Know the Friuli-Venezia Giulia Region – My Favorite Fall Events!
If you are a foodie, traveler, and fun-seeker like me, do not miss the awesome events taking place around this time of the year in my favorite corner of Italy, a.k.a Friuli Venezia Giulia, a.k.a HOME! Fall is pretty sweet here and there are so many fun things to do – I thought it’d be nice to share a list of my favorite events to make you want to explore this area. These are great opportunities to part-take in the local community life, experience the delicious food and get to see the beautiful places around which I’ve been blessed to grow up. Maybe I’ll see you there??…
September: time to harvest grapes to make “Il Vino del Nonno”
My favorite season is almost here and I’m super excited about the crisper days and the leaves changing colors. I feel particularly blessed to be here in Italy during this time of the year. September is a special month to spend around the place where I grew up; it’s when my family harvests grapes from my grandfather’s vines….
Harvesting Potatoes + Gnocchetti with Fresh Cherry Tomato & Black Olive Sauce
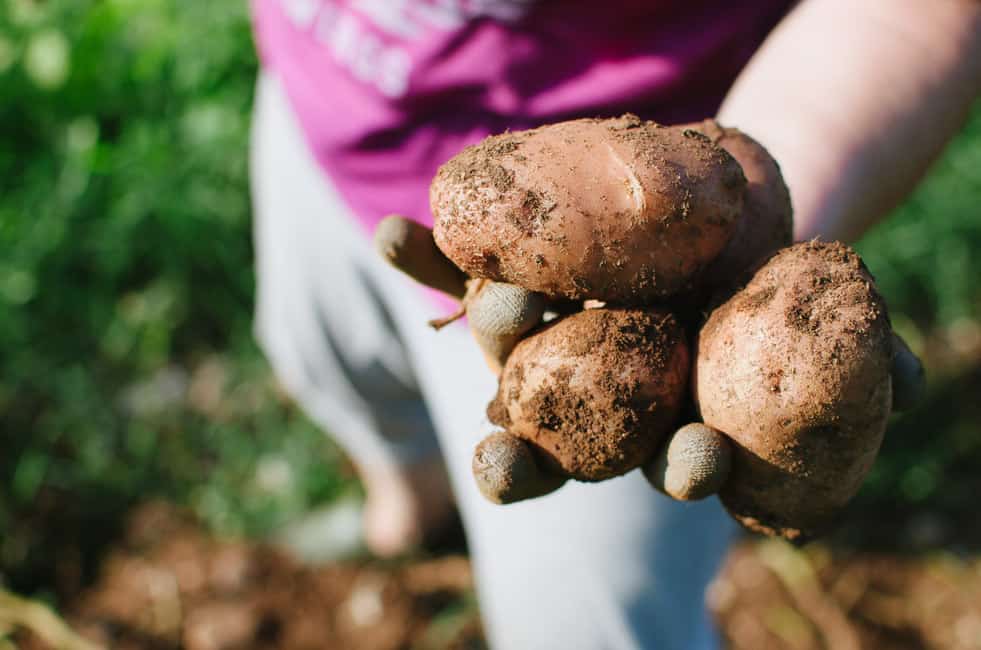
A few weeks ago, I was leaving the house to go to yoga practice when my mom called me to let me know the family was harvesting potatoes. I drove to our patch of land and saw that my uncles and aunts were all there, bending over the freshly plowed soil to pick up the potatoes my dad had planted last spring. I’m not sure whether or not I was looking for an excuse to skip yoga (I’m terrible at finding motivation to work out) but I love being together with my family for things like this – that is, working to harvest fruits and vegetables we will all enjoy for many months to come. So I went back home, dropped the mat and towel, grabbed my camera and rushed back to the potato patch….
Figs 2 ways: Quick Burrata & Figs Appetizer and Almond and Fig Crostata
Considering figs are one of my favorite fruits, I can’t believe I went two full years without having one. This summer I can finally pick them directly from the tree and eat them as many as my belly can take! Having direct access to fruits and vegetables is just priceless. Spending time with my mom and taking care of her garden has offered lots of rewards that well outbalance the outrageous amount of mosquito bites I collected on my legs and the early wake-ups to water the garden.
Lots of figs = 2 delicious recipes!
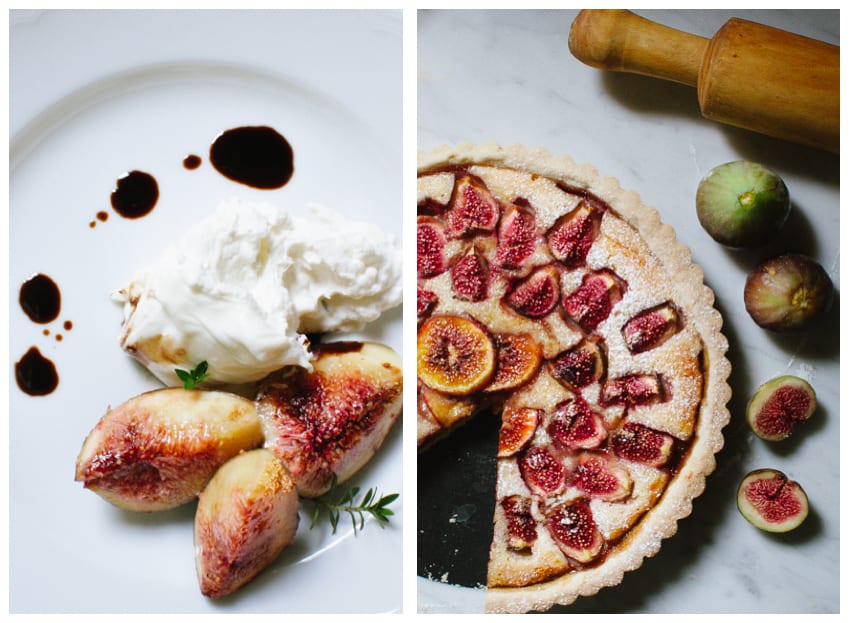
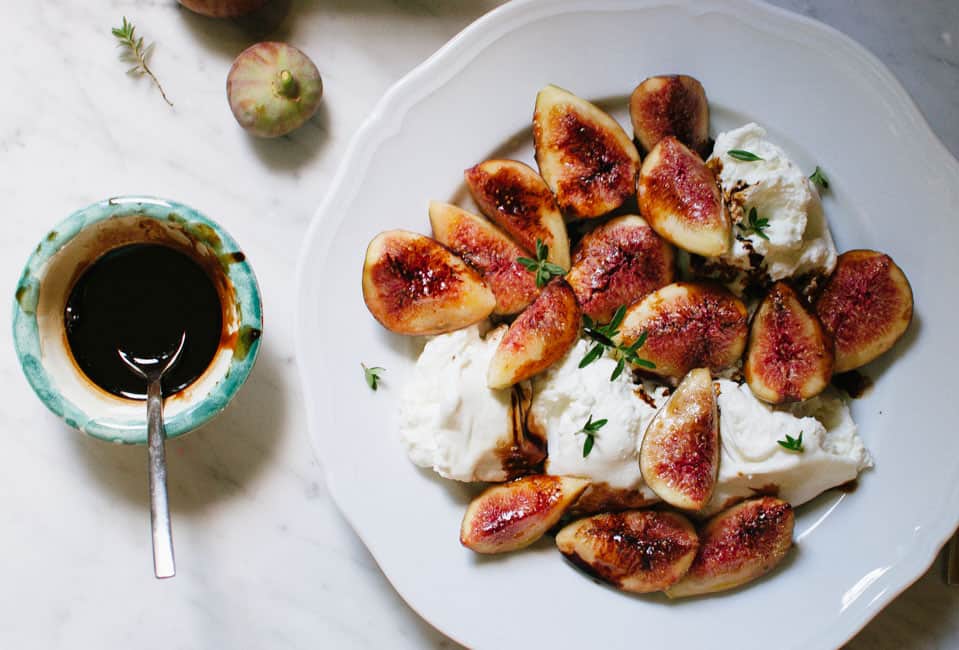
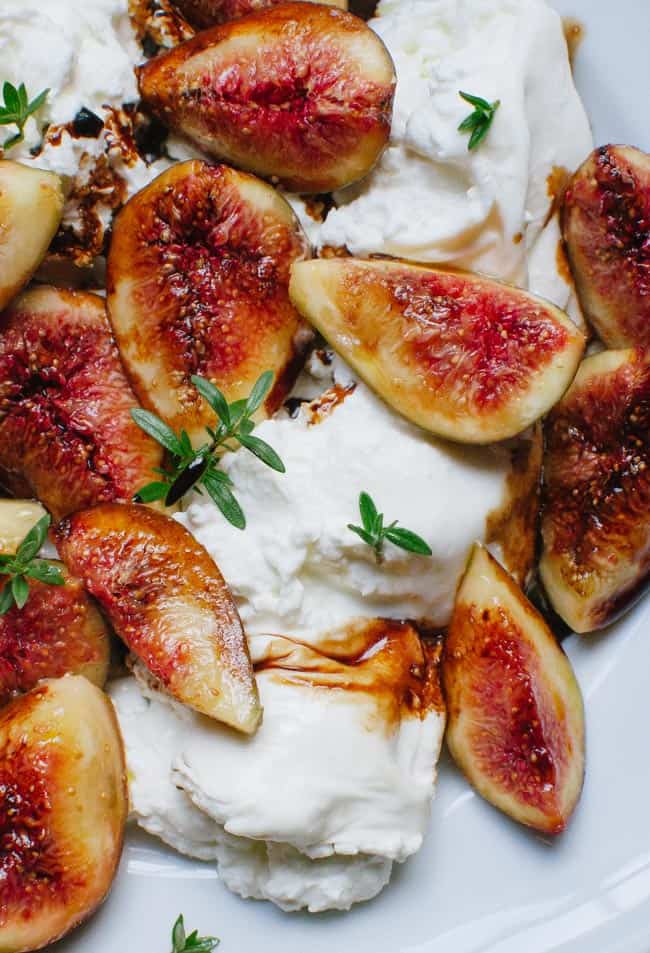
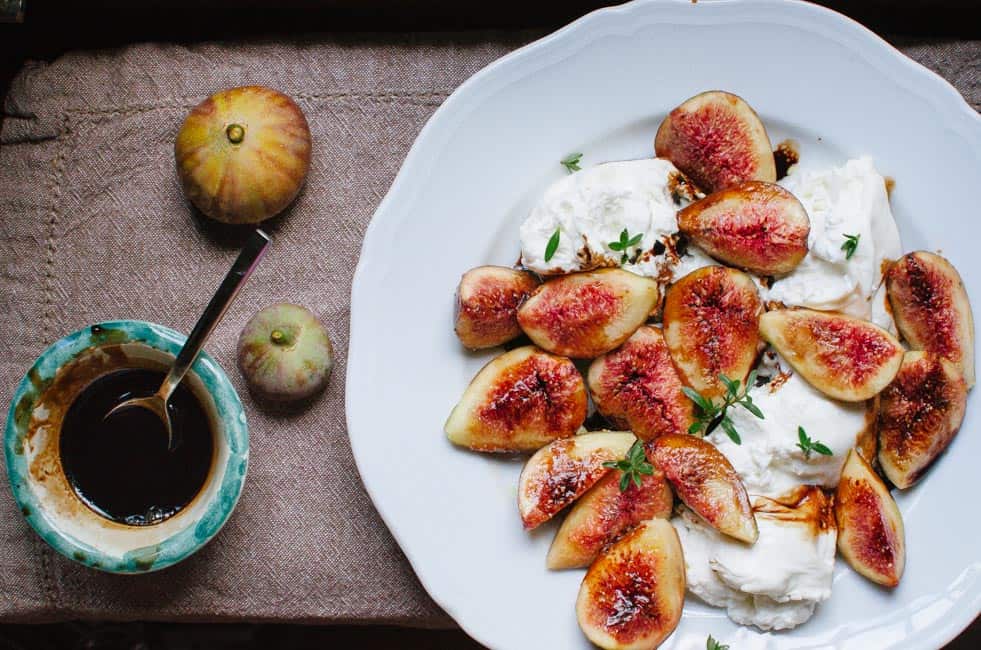
#1 is a delicious and easy appetizer made of soft and creamy burrata with fresh figs, simply tossed with lemon, olive oil, and a bit of salt. A drizzle of balsamic glaze brings together this amazing combo.
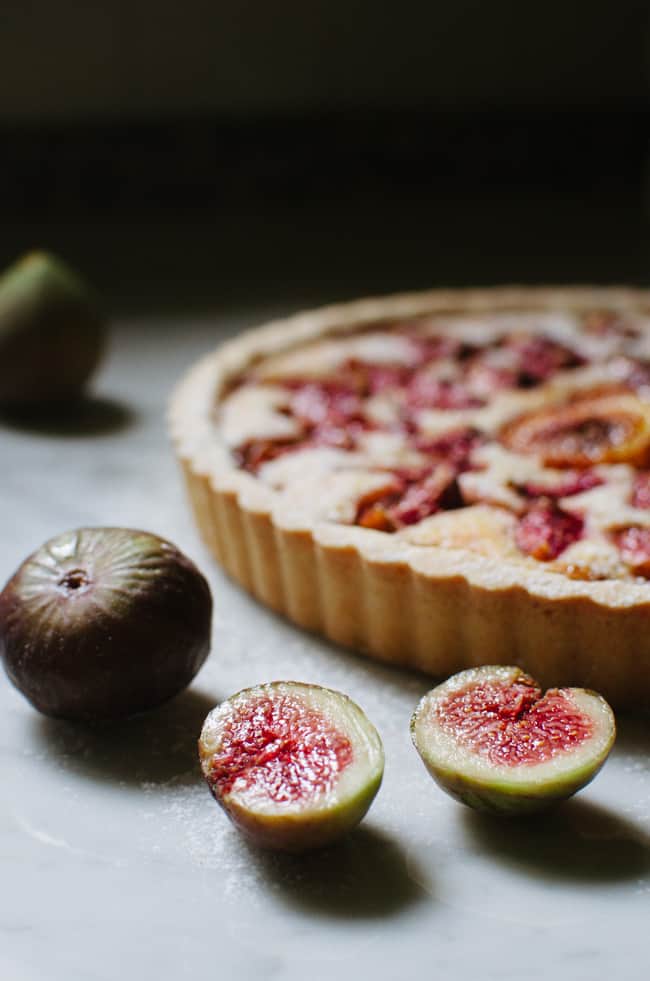
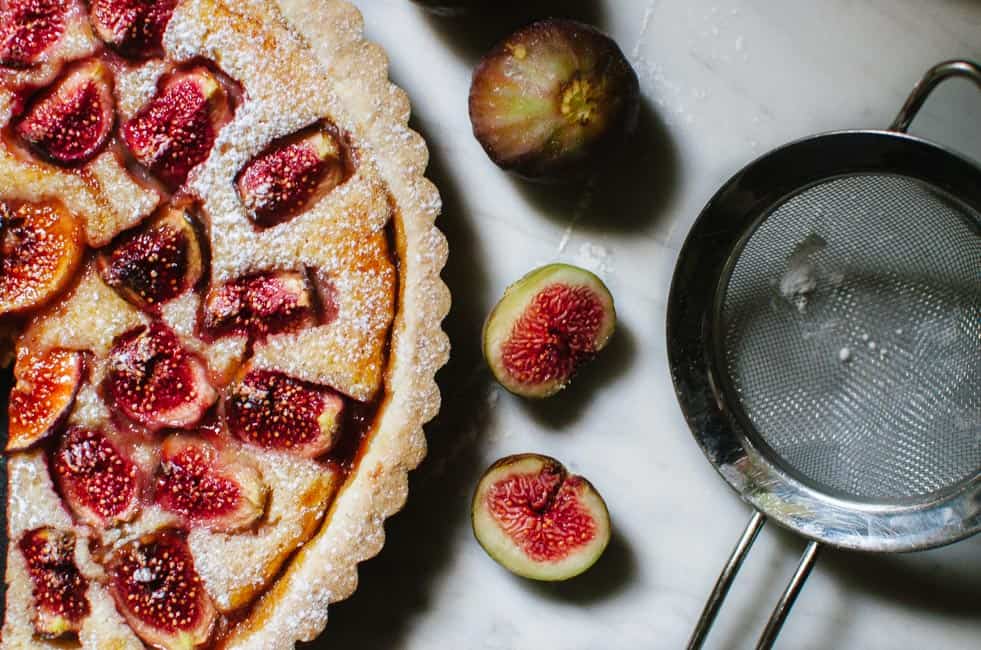
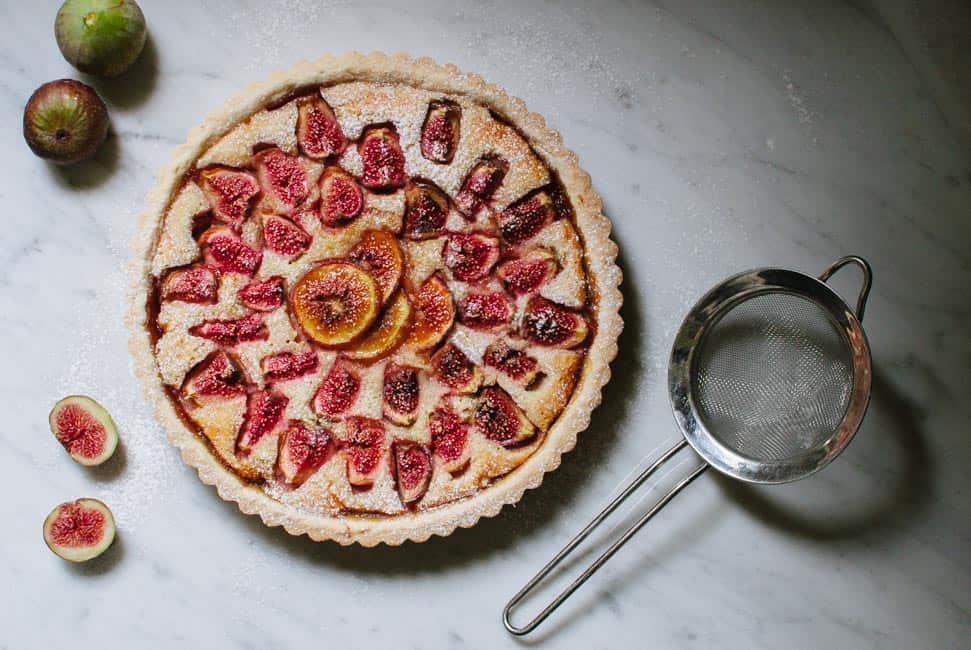
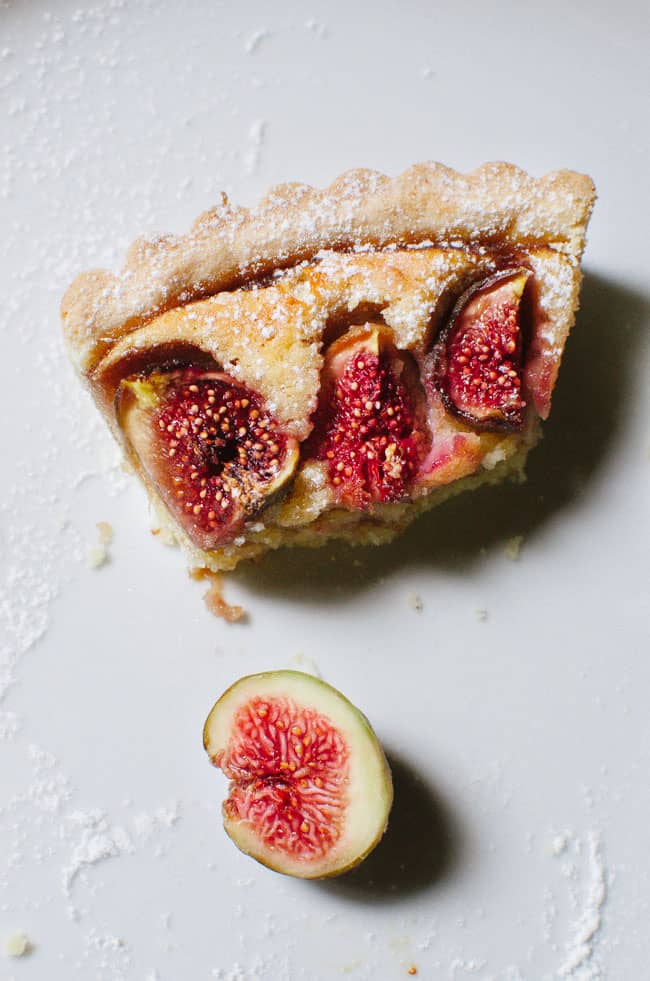
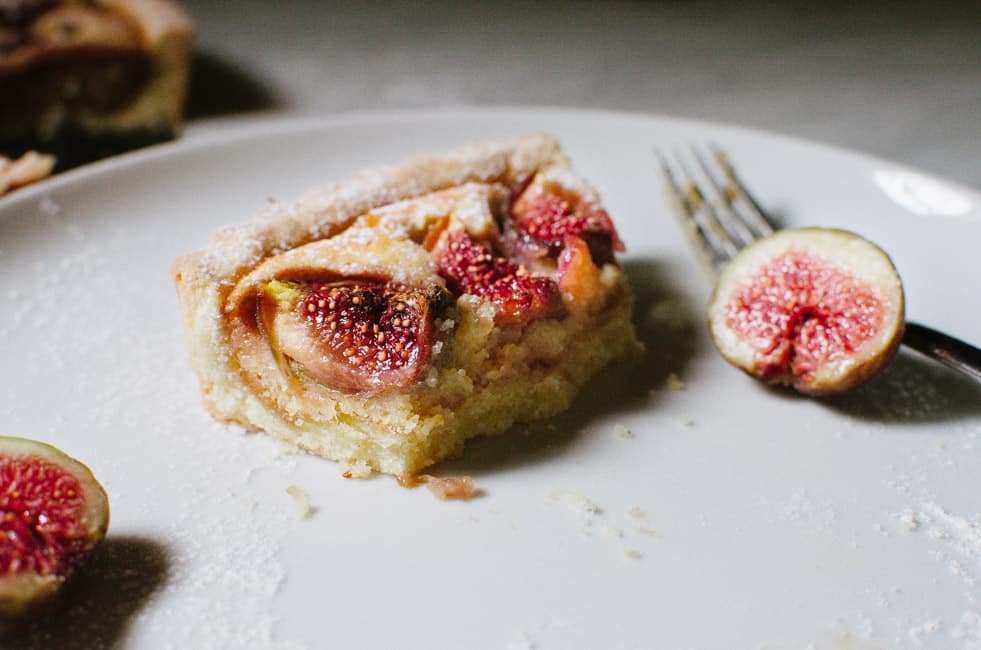
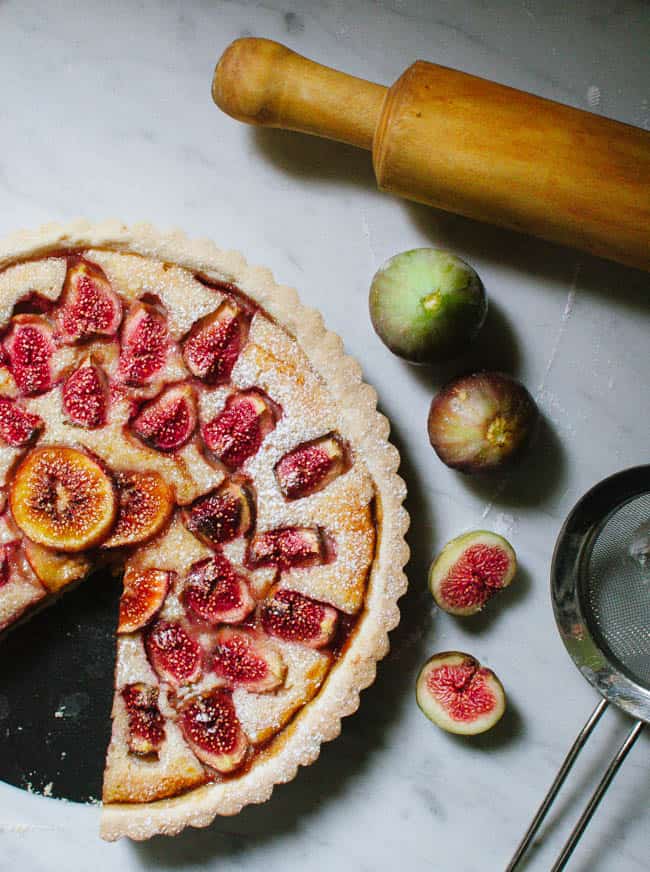
#2 is a super-pretty crostata made of a delicate crust and a tender almond filling (frangipane), on top of which I arranged small and perfectly ripe figs. To further enhance the almond flavor, I added a bit of Amaretto di Saronno. YUM.
Are you excited? Me too! This is my way to reward you for the long wait since my last recipe.
Enjoy the bountiful fig harvest!
QUICK BURRATA AND FIGS APPETIZER
(Inspired from April Bloomfield Figs with Balsamic Vinegar and Mozzarella)
Serves: 4 | Prep time: 20 min
INGREDIENTS
350 g burrata cheese, room temperature
8-10 figs, cut in quarters
1/4 cup balsamic vinegar (better if Aceto Balsamico di Modena)
the juice of 1/2 lemon
1 tsp honey
salt
extra-virgin olive oil
few sprigs of thyme
INSTRUCTIONS
1. Break burrata cheese with your hands and arrange it on a serving plate.
2. In a separate bowl, gently toss figs with salt, lemon juice, extra-virgin olive oil. Mix gently.
3. In a very small pot, pour 1/4 balsamic vinegar and 1 teaspoon of honey. Let boil for 15 minutes, until vinegar is reduced to 1/2.
4. Arrange dressed figs on the plate with the burrata cheese. With a spoon or a brush, drizzle some balsamic reduction on figs and burrata. Sprinkle some thyme and serve.
ALMOND AND FIG CROSTATA
Serves: 8-10 | Prep time: 1 hr and 30 min | Cook time: 40 min
INGREDIENTS
Short Pastry Dough (slightly adapted from Luca Montersino‘s recipe)
8.8 oz (250 g) flour
2/3 cup (11 Tbsp + 1 tsp OR 150 g) unsalted cold butter, cubed
3.5 oz (100 g) powdered sugar
1.4 oz (40 g) eggs (that’s about one egg)
the zest of 1 lemon
the seeds of 1/4 vanilla bean
a small pinch of salt
Frangipane
3.5 oz (100 g) almonds, toasted and then ground
3.5 oz (100 g) powdered sugar
3.5 oz (100 g) unsalted butter
3.5 oz (100 g) eggs, lightly beaten
1.6 oz (45 g) flour, sifted
1 Tbsp Amaretto di Saronno
8 small figs, cut in quarter
1 regular size fig, cut
INSTRUCTIONS
Short pastry dough
1. Sift flour on a clean surface. Form a wide well in the center and, keeping away from the flour borders, add cubed butter, eggs, salt, vanilla bean, lemon zest and powdered sugar. Work with your fingertips the ingredients in the center, without touching the flour on the sides. Once all the inner ingredients are well mixed, bring in the flour and work the dough until smooth and uniform. Be careful not to overwork it.
2. Form a disk and place it inside a folded sheet of parchment paper. Refrigerate for 1 hour.
Frangipane
1. Using a stand mixer, mix butter and powdered sugar until you obtain a creamy and fluffy mixture.
2. Add beaten eggs slowly. Add grounded almonds, flour, and Amaretto liqueur. Mix well and set aside.
Final assembly
1. Turn oven to 360°F
2. Butter and flour a 9-inch (24 cm) wide tart pan.
3. Roll out dough with a rolling pin and line tart pan with it. Trim dough in excess from the pan borders. Spread frangipane mixture inside the tart shell to cover the whole surface.
4. On top of the frangipane, arrange figs, cut-side up, in circle.
5. Bake in the oven for 40 minutes or until the crust is golden and the frangipane has risen.
6. Remove tart from the oven and let it cool. Dust with powdered sugar and serve
Easy Lavender Sachets
About 2 months ago, I had a close encounter with this fearless butterfly in my mom’s garden. I was at less than 2 feet away and she couldn’t care less about my harassing curiosity; she was too busy sucking nectar from those vibrant lavender flowers. If only my little nephew could hold still like that when I take photos of him!
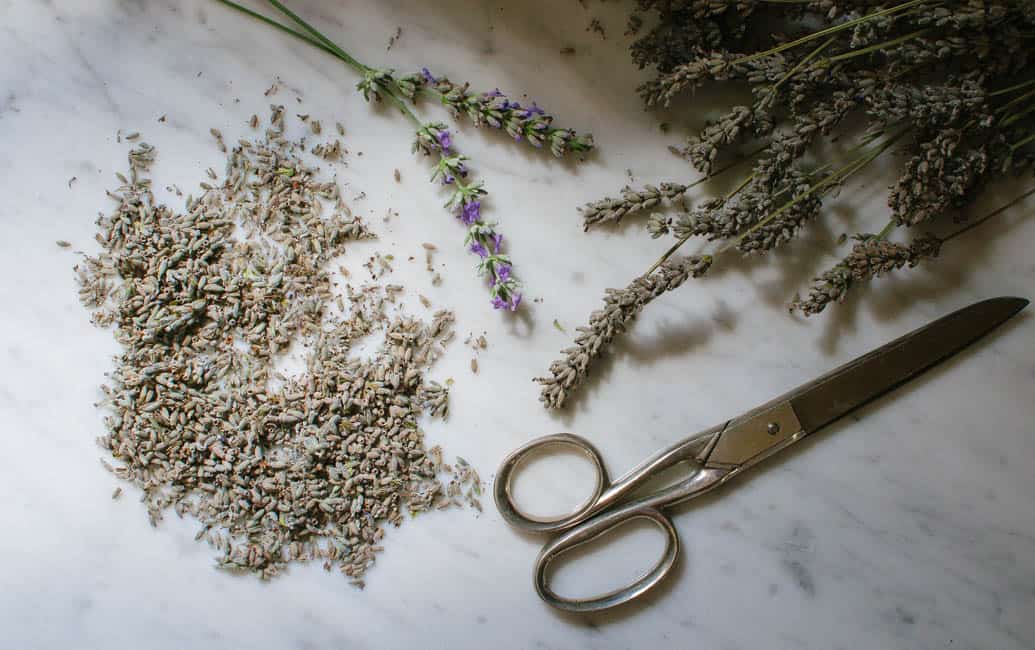
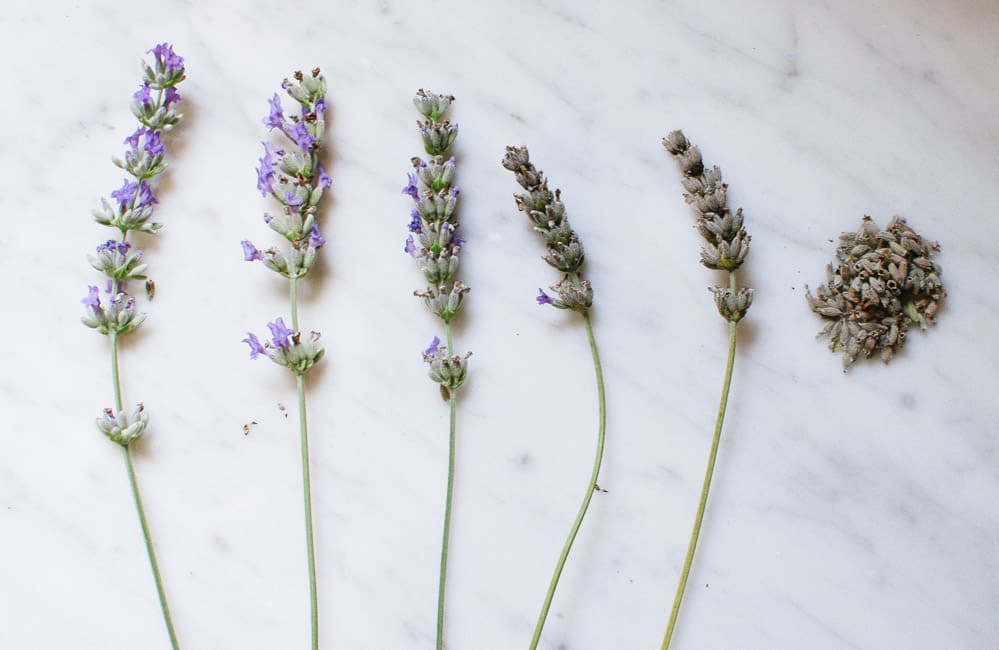
My mom loves lavender and it’s no surprise she planted it in three different spots in the garden. A pretty smart move, considering it attracts beneficial insects, who, in turn, keep the undesired ones in check. Lavender is colorful and provides necessary nutrients for wildlife; it’s drought tolerant, it blooms in early spring and continues until late summer. If this wasn’t enough, its benefits are extended all year around thanks to its moth-repellent properties. Lavender buds can be dried, put in little sachets, and placed in the drawers where you keep your wool or cashmere sweaters (i.e.: the finest natural fibers moths love so much).
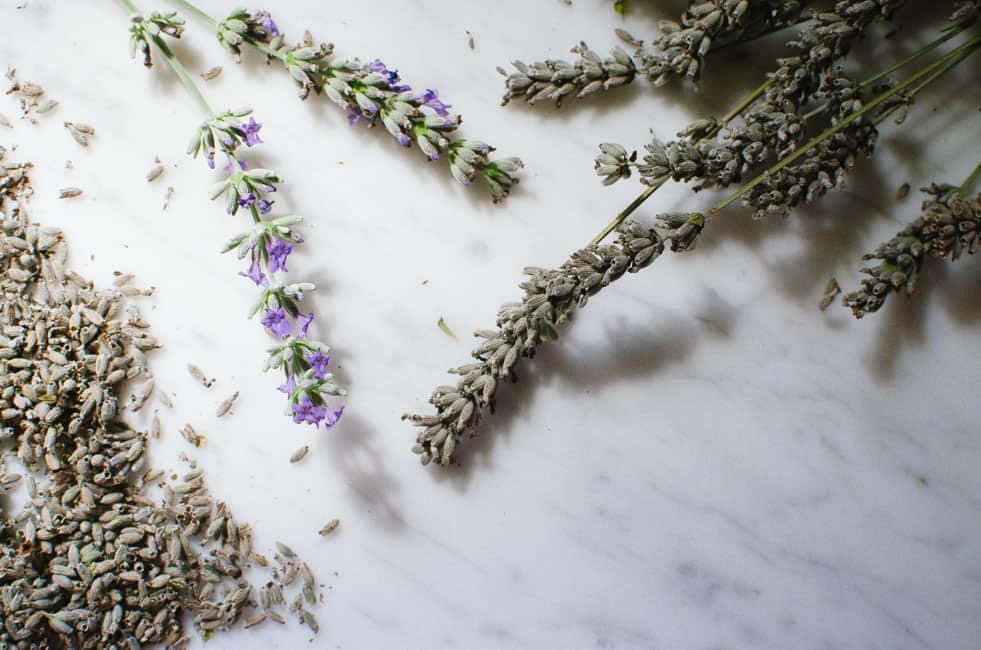
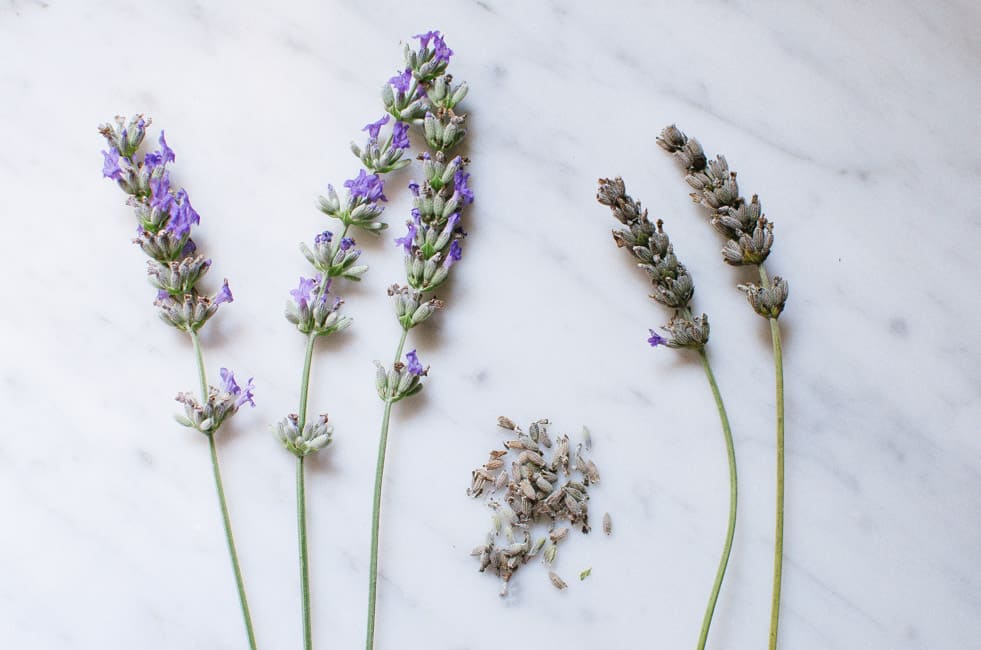
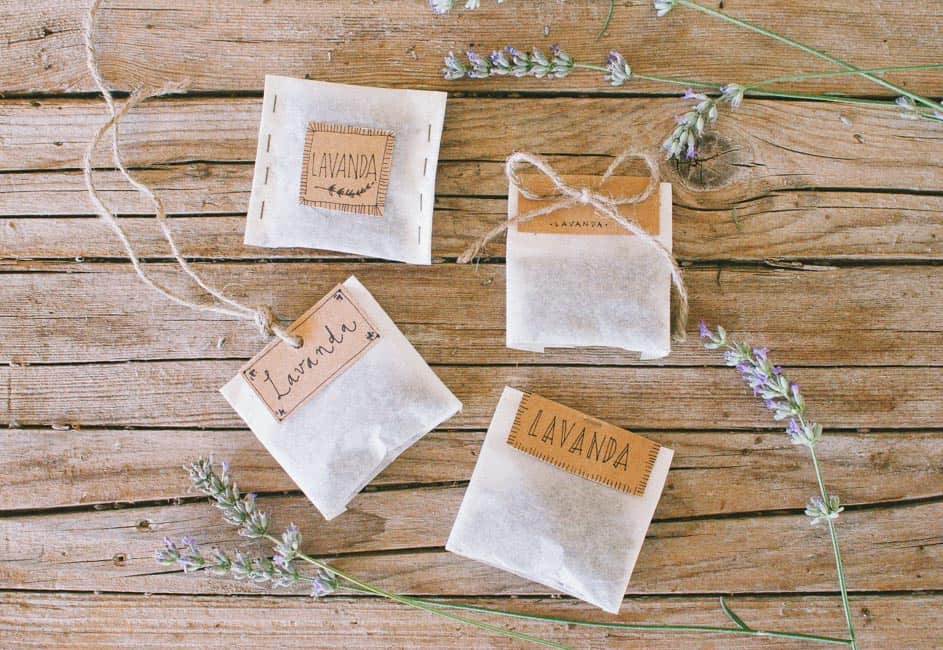
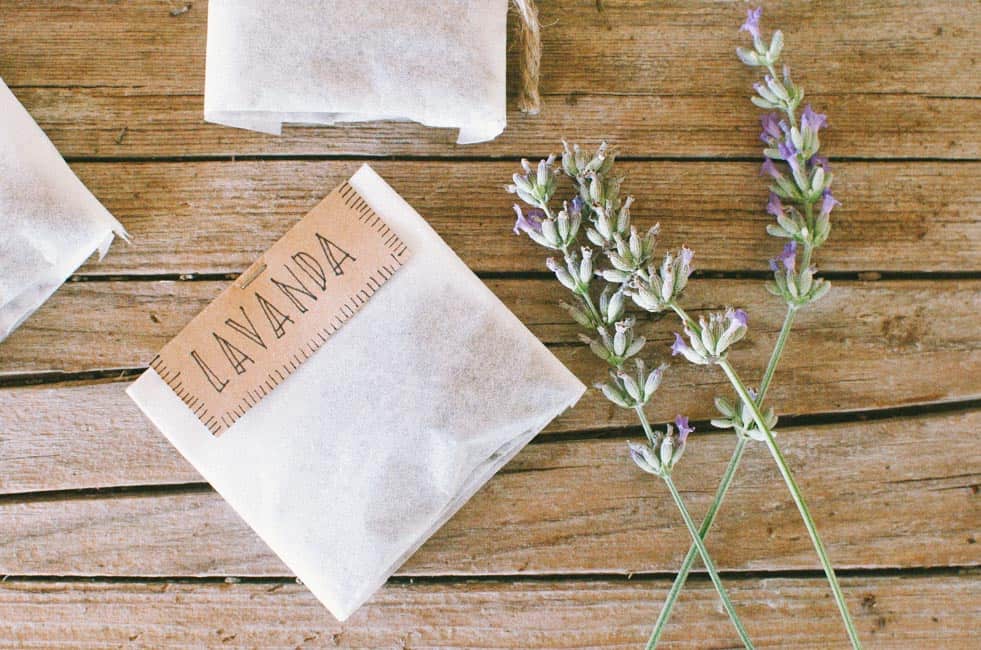
If you want to dry lavender, you should cut a big bunch, and hang it upside down in a warm, dark and dry place. Once the flowers have dried completely, you can easily remove them from the stems with your fingers. This year, I was late at harvesting lavender; my mom gave me a couple of reminders but when I was ready to do it, the flowers had just become dry – so I just picked them as they were…and their scent was still powerful! Since I kind of suck at sewing (let alone embroidering), I thought tea filters would be a perfect and easy recipient for my lavender buds. The filter material is thin enough to let natural aromas transpire and it can be easily closed with a string, some glue or a couple of staples. I filled each little bag with 3 teaspoons of lavender buds, then I folded it and I stapled a piece of construction paper on it. SO easy.
My cashmere sweaters are now happy and moth-free. I’m sure all the bees, bumblebees, and butterflies of the garden must have been very thankful for letting them enjoy the lavender flowers to the fullest. Everybody’s happy! Hurray.
Sicilian Orangettes
Although I often brag with my friends I’m the least picky eater they know (I thoroughly enjoy foods most people turn down – i.e: oysters, cow’s tongue, tripe, stock fish, frog legs, blue cheese, etc.), for some strange reason candied fruit never made it on the long list of foods I eat. Every year at Christmas I take time picking out candied orange bits from my panettone slice – something I consider an unnerving behavior in others. Poor little candied fruit, so harmless and so sweet…pushed out of the plate in such a brutal way.
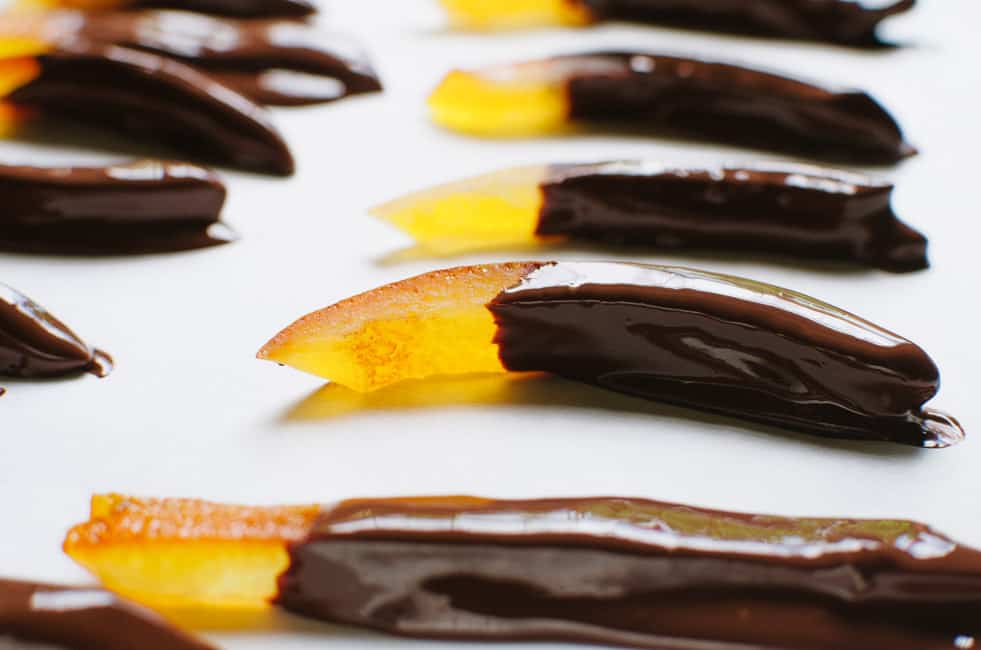
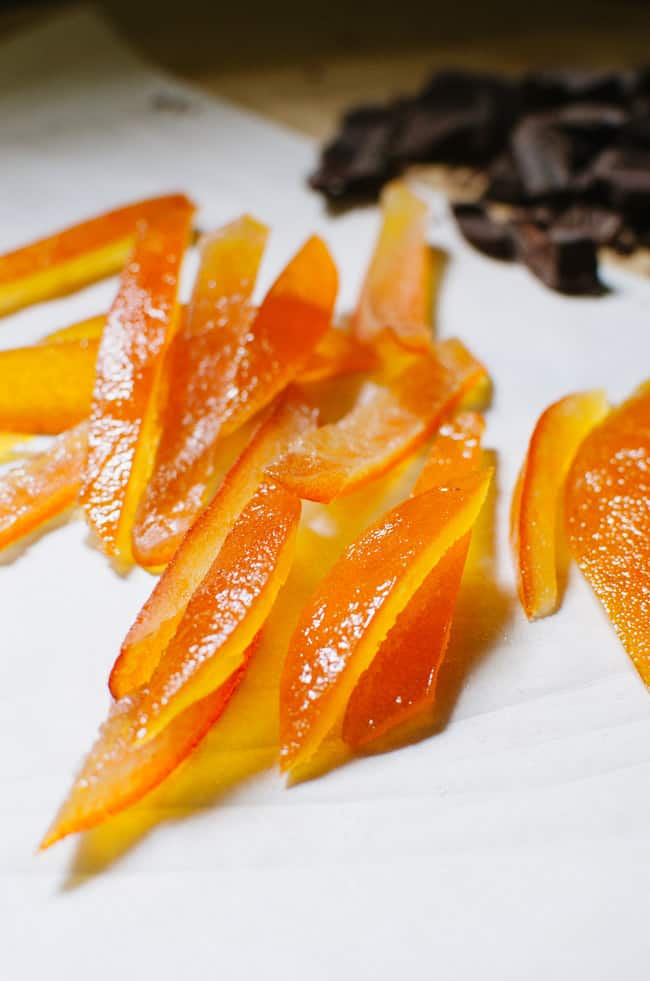
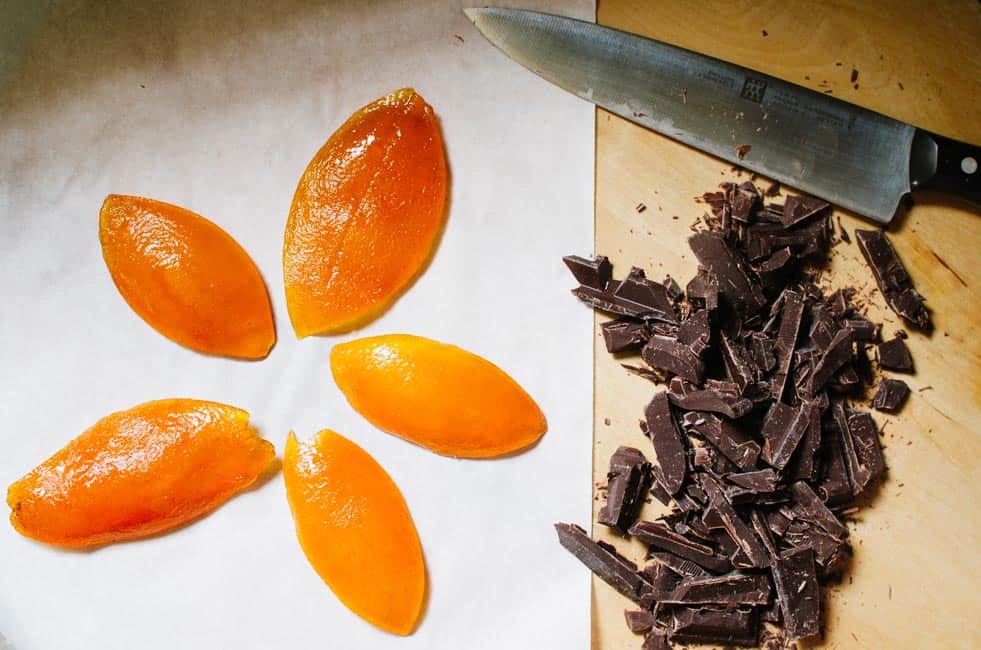
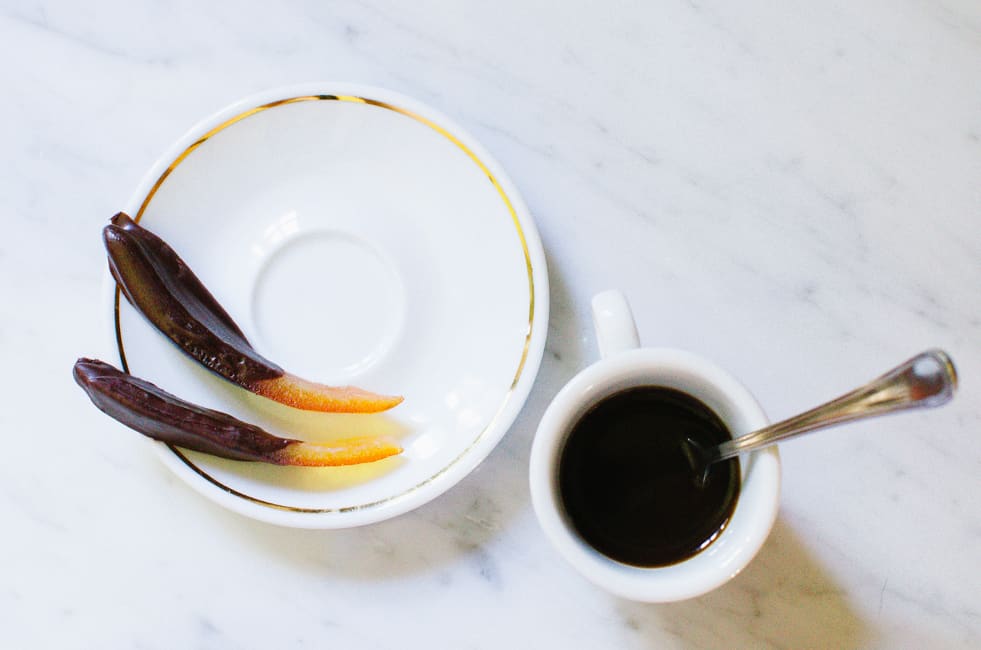
Luckily, taste changes over time. For me it was a sudden u-turn and since last Christmas I cannot think to have a panettone slice without those little jewel-like orange pieces. It just tastes so much better! …So, when Signora Milena (the same lady who generously provided me with the ingredients to make Pasta con le Sarde) gave me a little bag of candied orange peel from Sicily, my heart was happy. She suggested I made little orangettes by cutting the peel in strips and then dipping them in chocolate. What a neat idea! The recipe itself was straight forward and not difficult at all. Signora Milena didn’t mention anything about tempering chocolate. Since I’m a perfectionist and I like to complicate my life enjoy challenges, I decided to temper my chocolate to give it a glossy and smooth finish.
Tempering chocolate can be tricky and messy, if 1) you’ve never done it before and 2) you’re a human being. Simply put, you’ll need to melt your chocolate, then cool it to a certain temperature and then slightly warm it again. I recommend using a thermometer and some help, if you have it. I cooled my chocolate on a marble slab, agitating it with scrapers until it thickened. The seeding technique I explained in the recipe below is definitely easier, but still requires a good amount of precision.
Whether or not you like your chocolate tempered, you should try to make these little treats! They’re my favorite new thing to have with coffee. Yummy and cute…what a nice way to impress your guests!
- the peel of one candied orange (better if Sicilian), sliced in strips
- 5 oz good-quality dark chocolate (60-70%), roughly chopped (divided)
- Line a baking tray with parchment paper.
- Place ⅔ of your chopped chocolate in a clean bowl over simmering water and let it melt, without stirring, to about 115º-120º F (46º-49ºC). Be careful not to allow any splash of water into the bowl. Once ⅔ of chocolate are melt, remove bowl from the heat and stir frequently. Add the remaining chopped chocolate. Continue stirring gently. The chocolate will begin to thicken and become less shiny as it cools down. Once the chocolate reaches 80ºs F (27ºC.), warm it again to 88° and 91° F (31º-32ºC), by placing the bowl over the previously heated water. Try to keep chocolate at this temperature (*see notes).
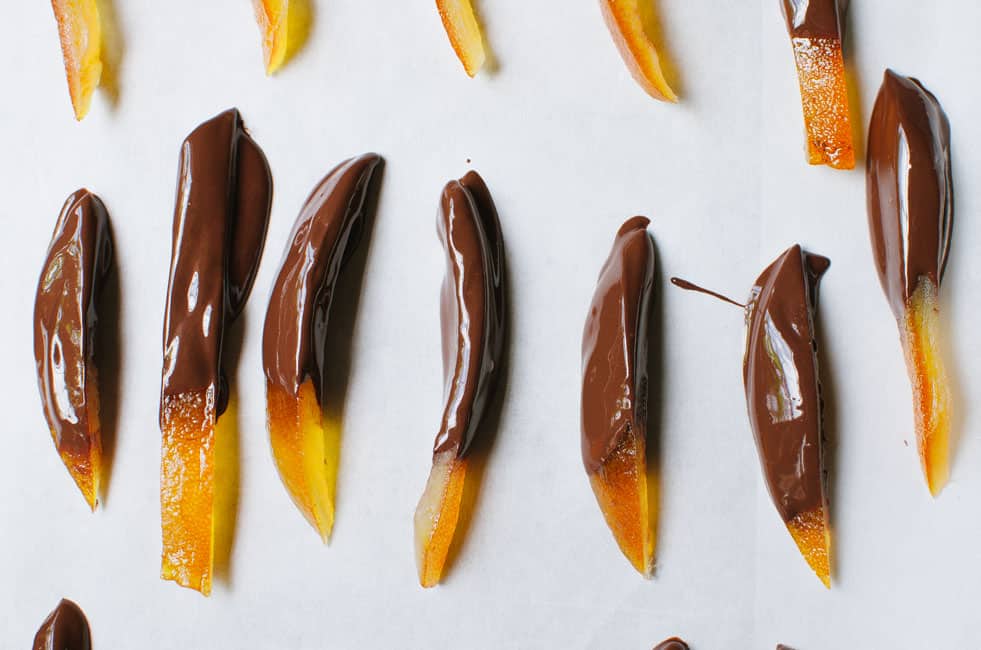
- Dip each orange strip half-way in chocolate and place them on the baking tray side by side. Refrigerate chocolate-dipped orange strips for 5 minutes. Then remove from the fridge and store at 16°C (61°F), away from moisture.
- « Previous Page
- 1
- …
- 7
- 8
- 9
- 10
- 11
- …
- 14
- Next Page »