 Hello again, friends!
I can’t believe it’s been over a month since my last post. Needless to say my break was probably too long, but much needed. In case you were wondering, this is what happened these past weeks and kept me away from my blogging routine (they’re really good things, for the most part!):
- My deployed husband (whom I haven’t seen in 4 months) came to visit me! As usual, our time together was awesome and too short. During his stay in Italy, we were able to accomplish something we have been wanting to do for a long time – i.e. to visit Sicily and meet his Sicilian relatives. We had a great time and I hope to be able to post some photos soon!
- I upgraded my camera and this is a HUGE piece of news. For months, I spent countless hours sounding out reviews on any possible photography website in order to understand what camera would better fit my needs. I finally set my heart on a Nikon model and got it. I’m happy to announce I’m SUPER satisfied with it. I’m “legit” now! LOL.
- I did my first portrait session (with my new camera!) — it was an exciting experience altogether and I’m looking forward to my next portrait session. I really can see a future in this.
- After much anticipation, my husband and I found out our next destination: we’re going to the D.C. area! If there’s one place that could counter-balance the super-sad fact that I’m leaving Italy again, it’s Washington D.C.; lots of beautiful memories there. As soon as we found out about it, we started the house hunt. We’re still a few months out, but we just can’t help it!
- My computer decided to stop cooperating and I’m in the middle of backing up all my files and getting ready to migrate everything to a new computer. Despite my desire to post new photos & stories, I can’t seem to get through this painful process fast enough.
- Lastly, I realized that after 1 year of almost-uninterrupted blogging, I needed to put this little creature of mine on hiatus, just so I could come back with fresher ideas and stronger purpose…all the above-mentioned circumstances simply made it happen.
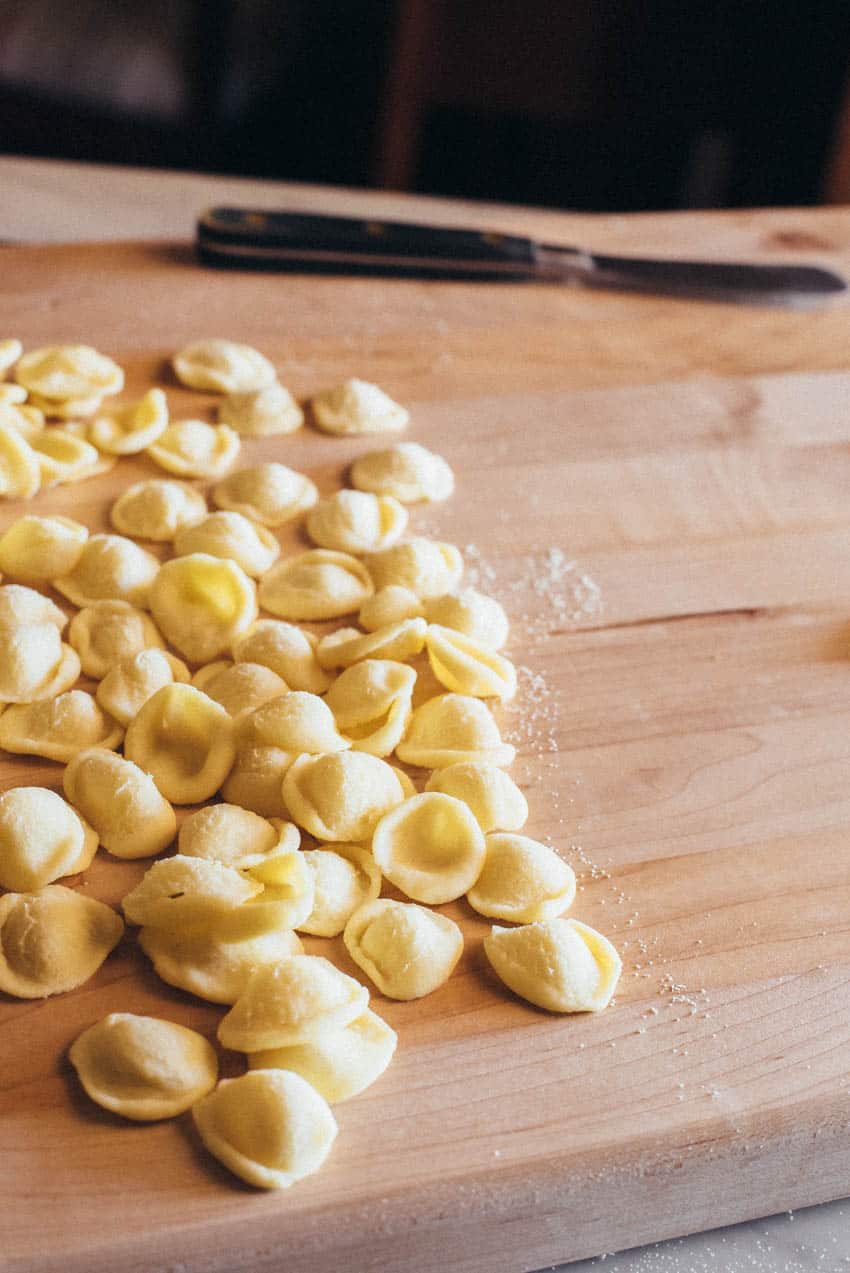
So I’m back at it BUT I’m still in the middle of working out my computer issues. In the meantime, I was miraculously able to work on something I know you’ll love – an orecchiette tutorial!
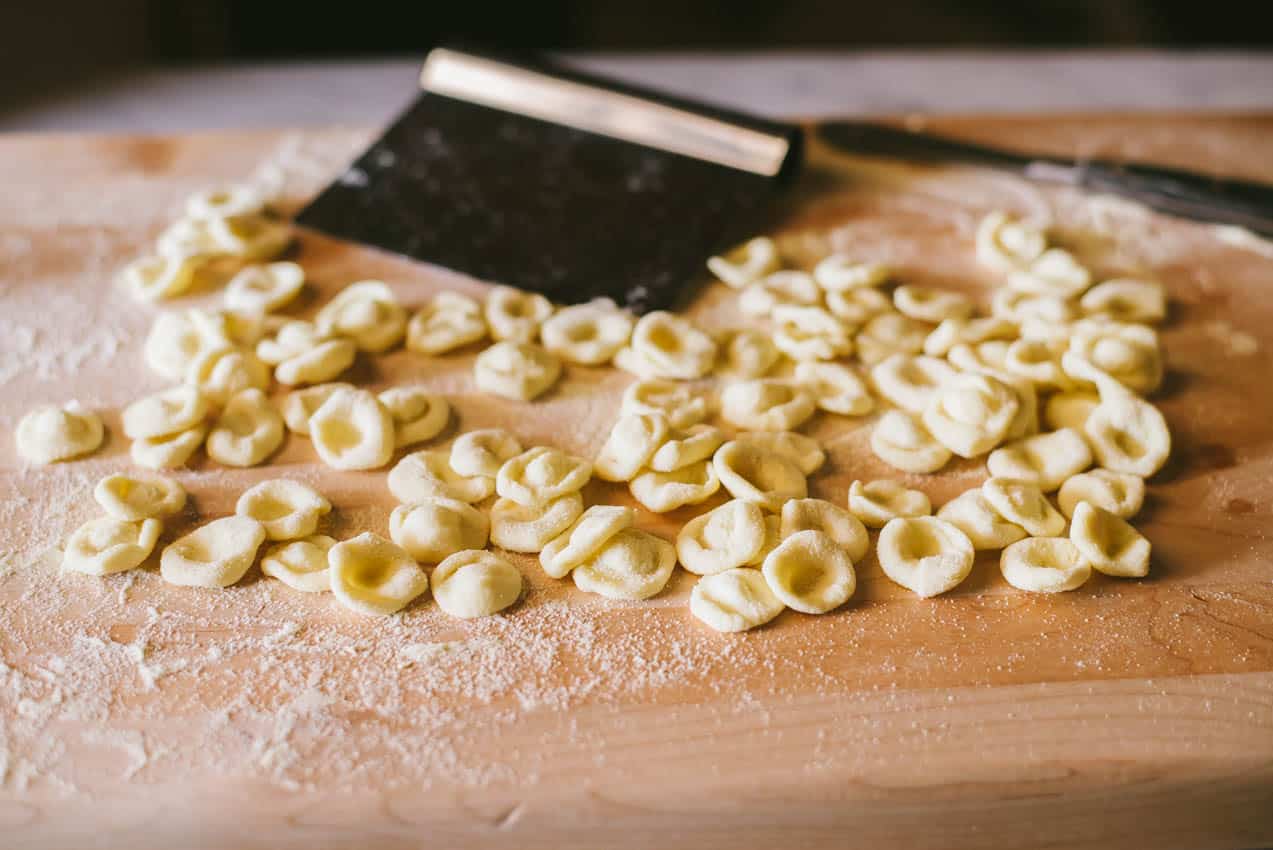
Orecchiette are cute “little ears” of pasta (“orecchio” means “ear” in Italian). In Puglia (that beautiful southern region that’s easily recognizable because it’s the heel of the boot), making orecchiette is a tradition women pass down from generation to generation and, if you ever visit the old part of Bari, you’ll see the “orecchiette ladies” lining the streets, rolling out dough, and forming tiny perfect cups at the speed of sound. Thousands of these orecchiette are then left to dry on big racks. Once they become dry, they’re ready to be packaged and purchased from passer-by and tourists.
Now, granted my technique isn’t comparable to the masterful hands of these expert ladies, I’m proud to say my FIRST orecchiette turned out quite well! It’s a fun activity to do with the family and I seriously cannot wait to make them again for my American friends when I go back stateside.
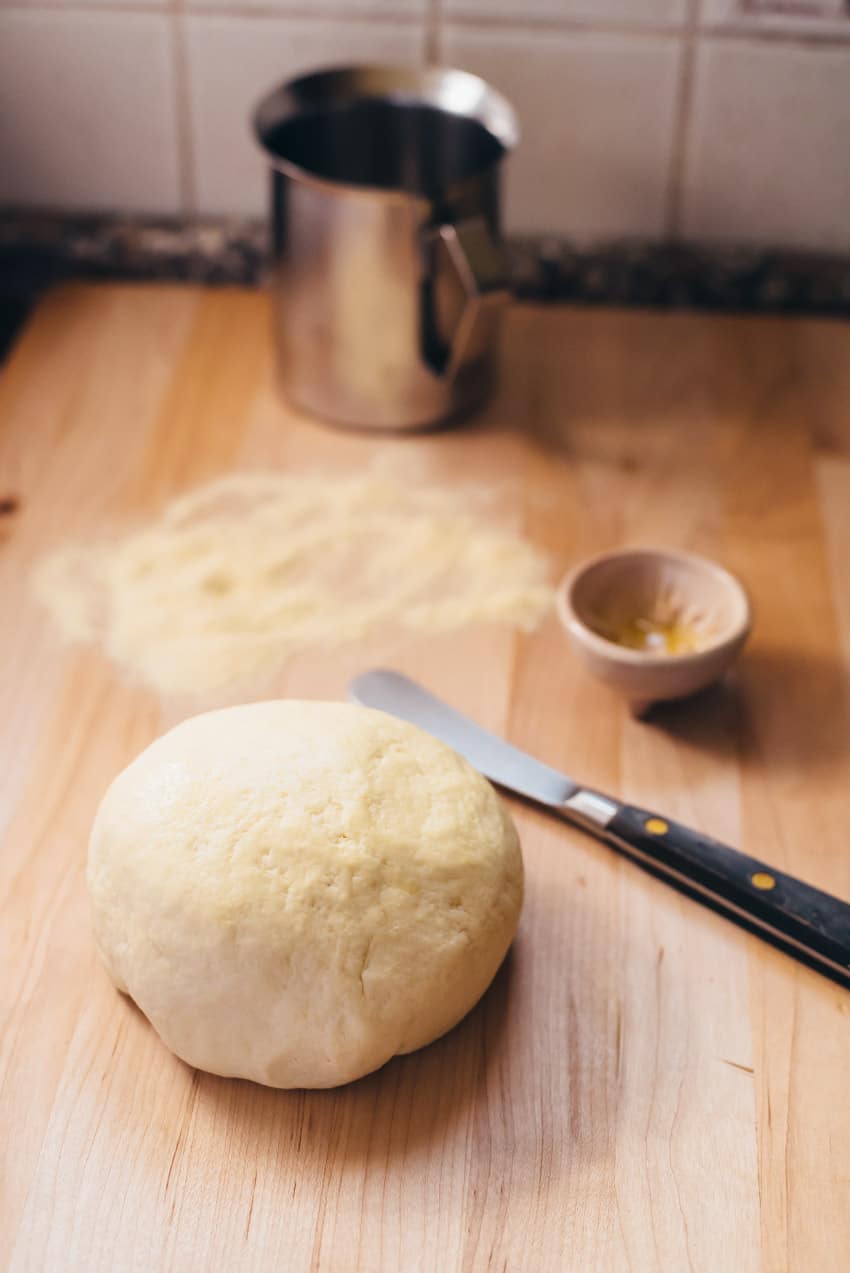
To make orecchiette you’ll only need semolina flour, warm water, and just a tiny bit of extra-virgin olive oil. You can check out the full recipe at the end of the post). Now, let’s get to the technique:
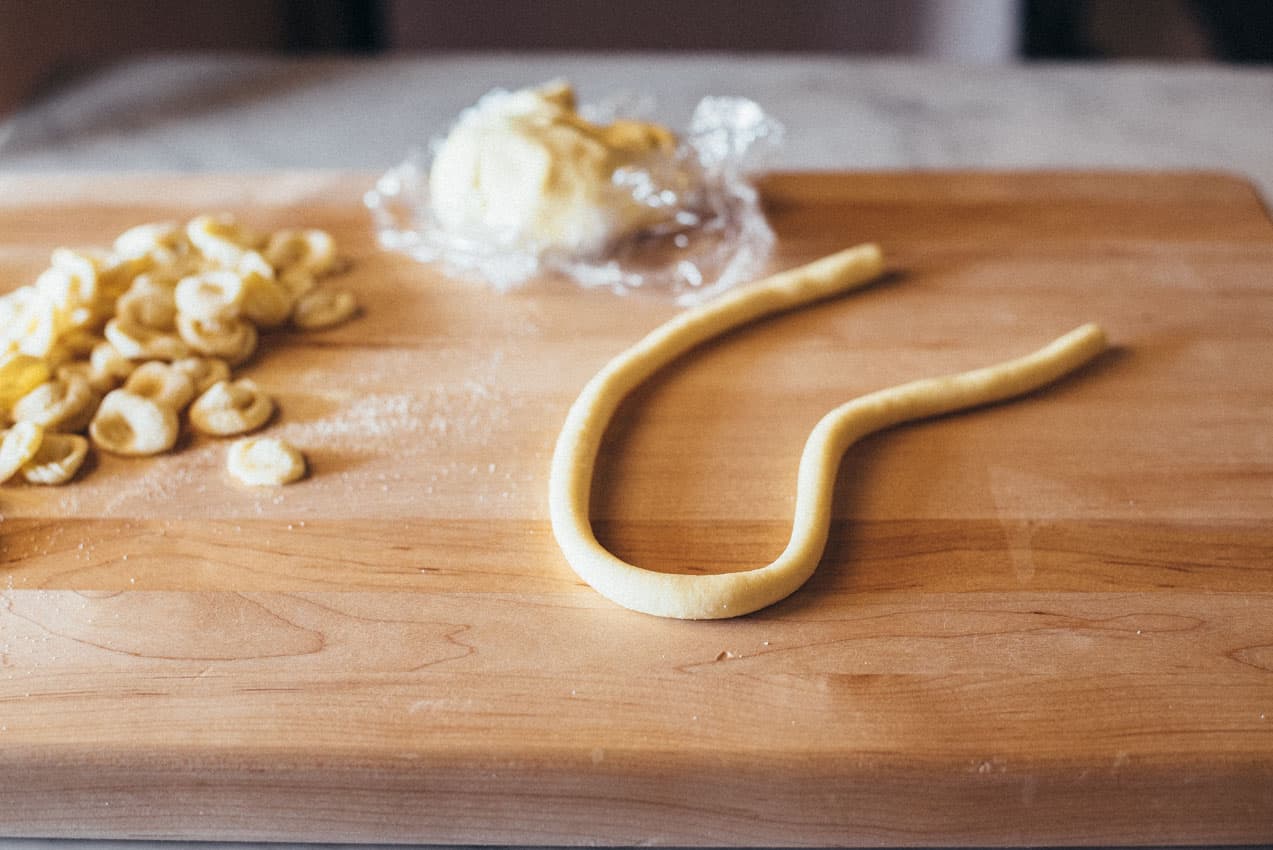
- Once the dough has rested for about 15-20 minutes, cut a piece and roll it out in a 1 cm-thick log (that’s a little less than 1/2 inch). Keep the remaining dough wrapped in plastic film.
- Cut the log in square-shaped pieces (once again, measuring 1 cm or a little less than 1/2 inch).
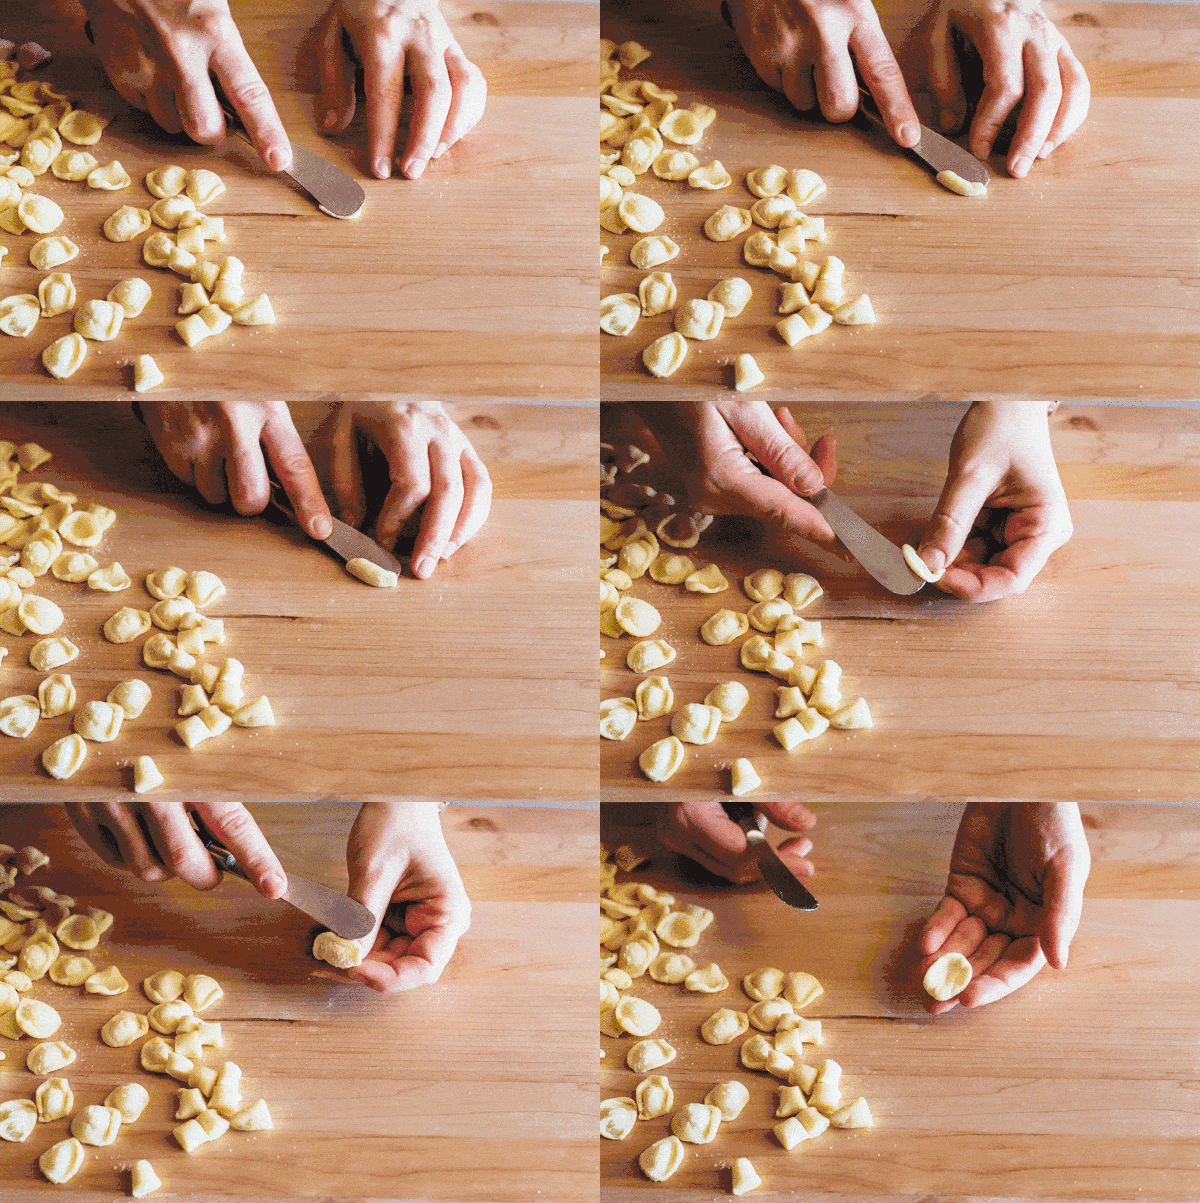
- Take one dough square. Press the tip of a table knife (I used a butter knife) against the corner farthest from you, holding it at an angle.
- Press down hard and pull the knife towards you, rolling the dough; keep going until dough wraps around the knife.
- Using the other hand, turn dough inside out, pushing your thumb in the center of the little dough disk.
…and tah-daaaah! You just made your first orecchietta.
Wow. It’s more difficult to write it down than to actually make them! This GIF should help you understand better.
Don’t be intimidated. I guarantee the first ones will look terrible, but as you keep going you’ll notice they’ll look better and better. I promise, you’ll be proud of yourself!
I love the fact that these little domes can really catch any kind of sauce you want to use. Orecchiette usually call for a sauce made with greens like broccoli rabe. I made one with freshly-picked wild greens, garlic, and Asiago cheese….and it was awesome.
Last tip: since you’re at it, make an extra batch, let it dry and freeze for weeknights.
- 300 g (10.6 oz) semolina flour
- 150 g (5.3 oz) warm water
- ½ tsp of extra-virgin olive oil
- Combine all the ingredients until you obtain a soft, yet firm dough.
- Knead for a few minutes, until smooth. Form a ball.
- Wrap it in plastic film and let it rest for 15 minutes.
- Cut a piece and roll it out in a 1 cm-thick log (that's a little less than ½ inch). Keep the remaining dough wrapped in plastic film.
- Cut the log in small square-shaped pieces (once again, measuring 1 cm or a little less than ½ inch).
- Take one small dough square. Press the tip of a table knife (I used a butter knife) against the corner farthest from you, holding it at an angle.
- Press down hard and pull the knife towards you, rolling the dough; keep going until dough wraps around the knife.
- Using the other hand, turn dough disk inside out, pushing your thumb in the center of the dough disk.
- Repeat the same steps for the rest of the dough.
- Spread the orecchiette on top of a drying rack or a lightly floured tray, and let them dry. When they harden up (it doesn't take too long), you can either cook them right away or freeze them inside a plastic bag.
- Cook them in salted boiling water until they rise to the surface (cooking time depends on how dry they are - mine took about 5-7 minutes).
- Drain orecchiette and sautée with a freshly made sauce.





Leave a Reply